My biggest cosplay build so far has been a pair of Proton Packs from Ghostbusters (and other assorted props). They’re 3D printed monstrosities with some pretty cool electronics features. It’s been a great exused to develop my CAD skills, and learn about designing and manufacturing my own PCBs to run the packs.
The aim was to create a pair of GB1/GB2 era packs, with a few minor adjustments like an actual power switch under the ion arm. There are some slight differences between the packs from the first and second films, along with minor variations between individual character/hero packs, so there was no single target for these except that they be “80s”. Hopefully this wander through my process will help other builders.

While I’ll link to relevant pages and products through the sections below, it’s worth calling out three key sources of research for my own build:
- First up has to be the excellent GBFans.com. Their reference image library is excellent for checking details from screen used packs, and their forums are full of busters who have gone before and already learned tricks and mistakes so you don’t have to. The forum is an invaluable source for problem solving.
- Next up is the 3D Printed Ghostbusters Props facebook group. The place to go for any questions about your 3D printed shell (or other props).
- Last is the Arduino for Ghostbusters Props group. There are multiple ways you can approach electronics in your pack, but I knew I wanted to roll my own. It’s a friendly and knowledgeable bunch who can help you solve all sorts of problems with your own builds.
The Shell Build
3D Printing
This was made possible thanks to the magnificnet Q-Pack 3D print files. You can find assembly guides for these on Etsy, and they’re worth it to both steer you towards the right hardware and also give back to the creator. I built on the Mk3 files, but the Mk4 has since been released with some great features for picking and choosing what era of pack you want to build.
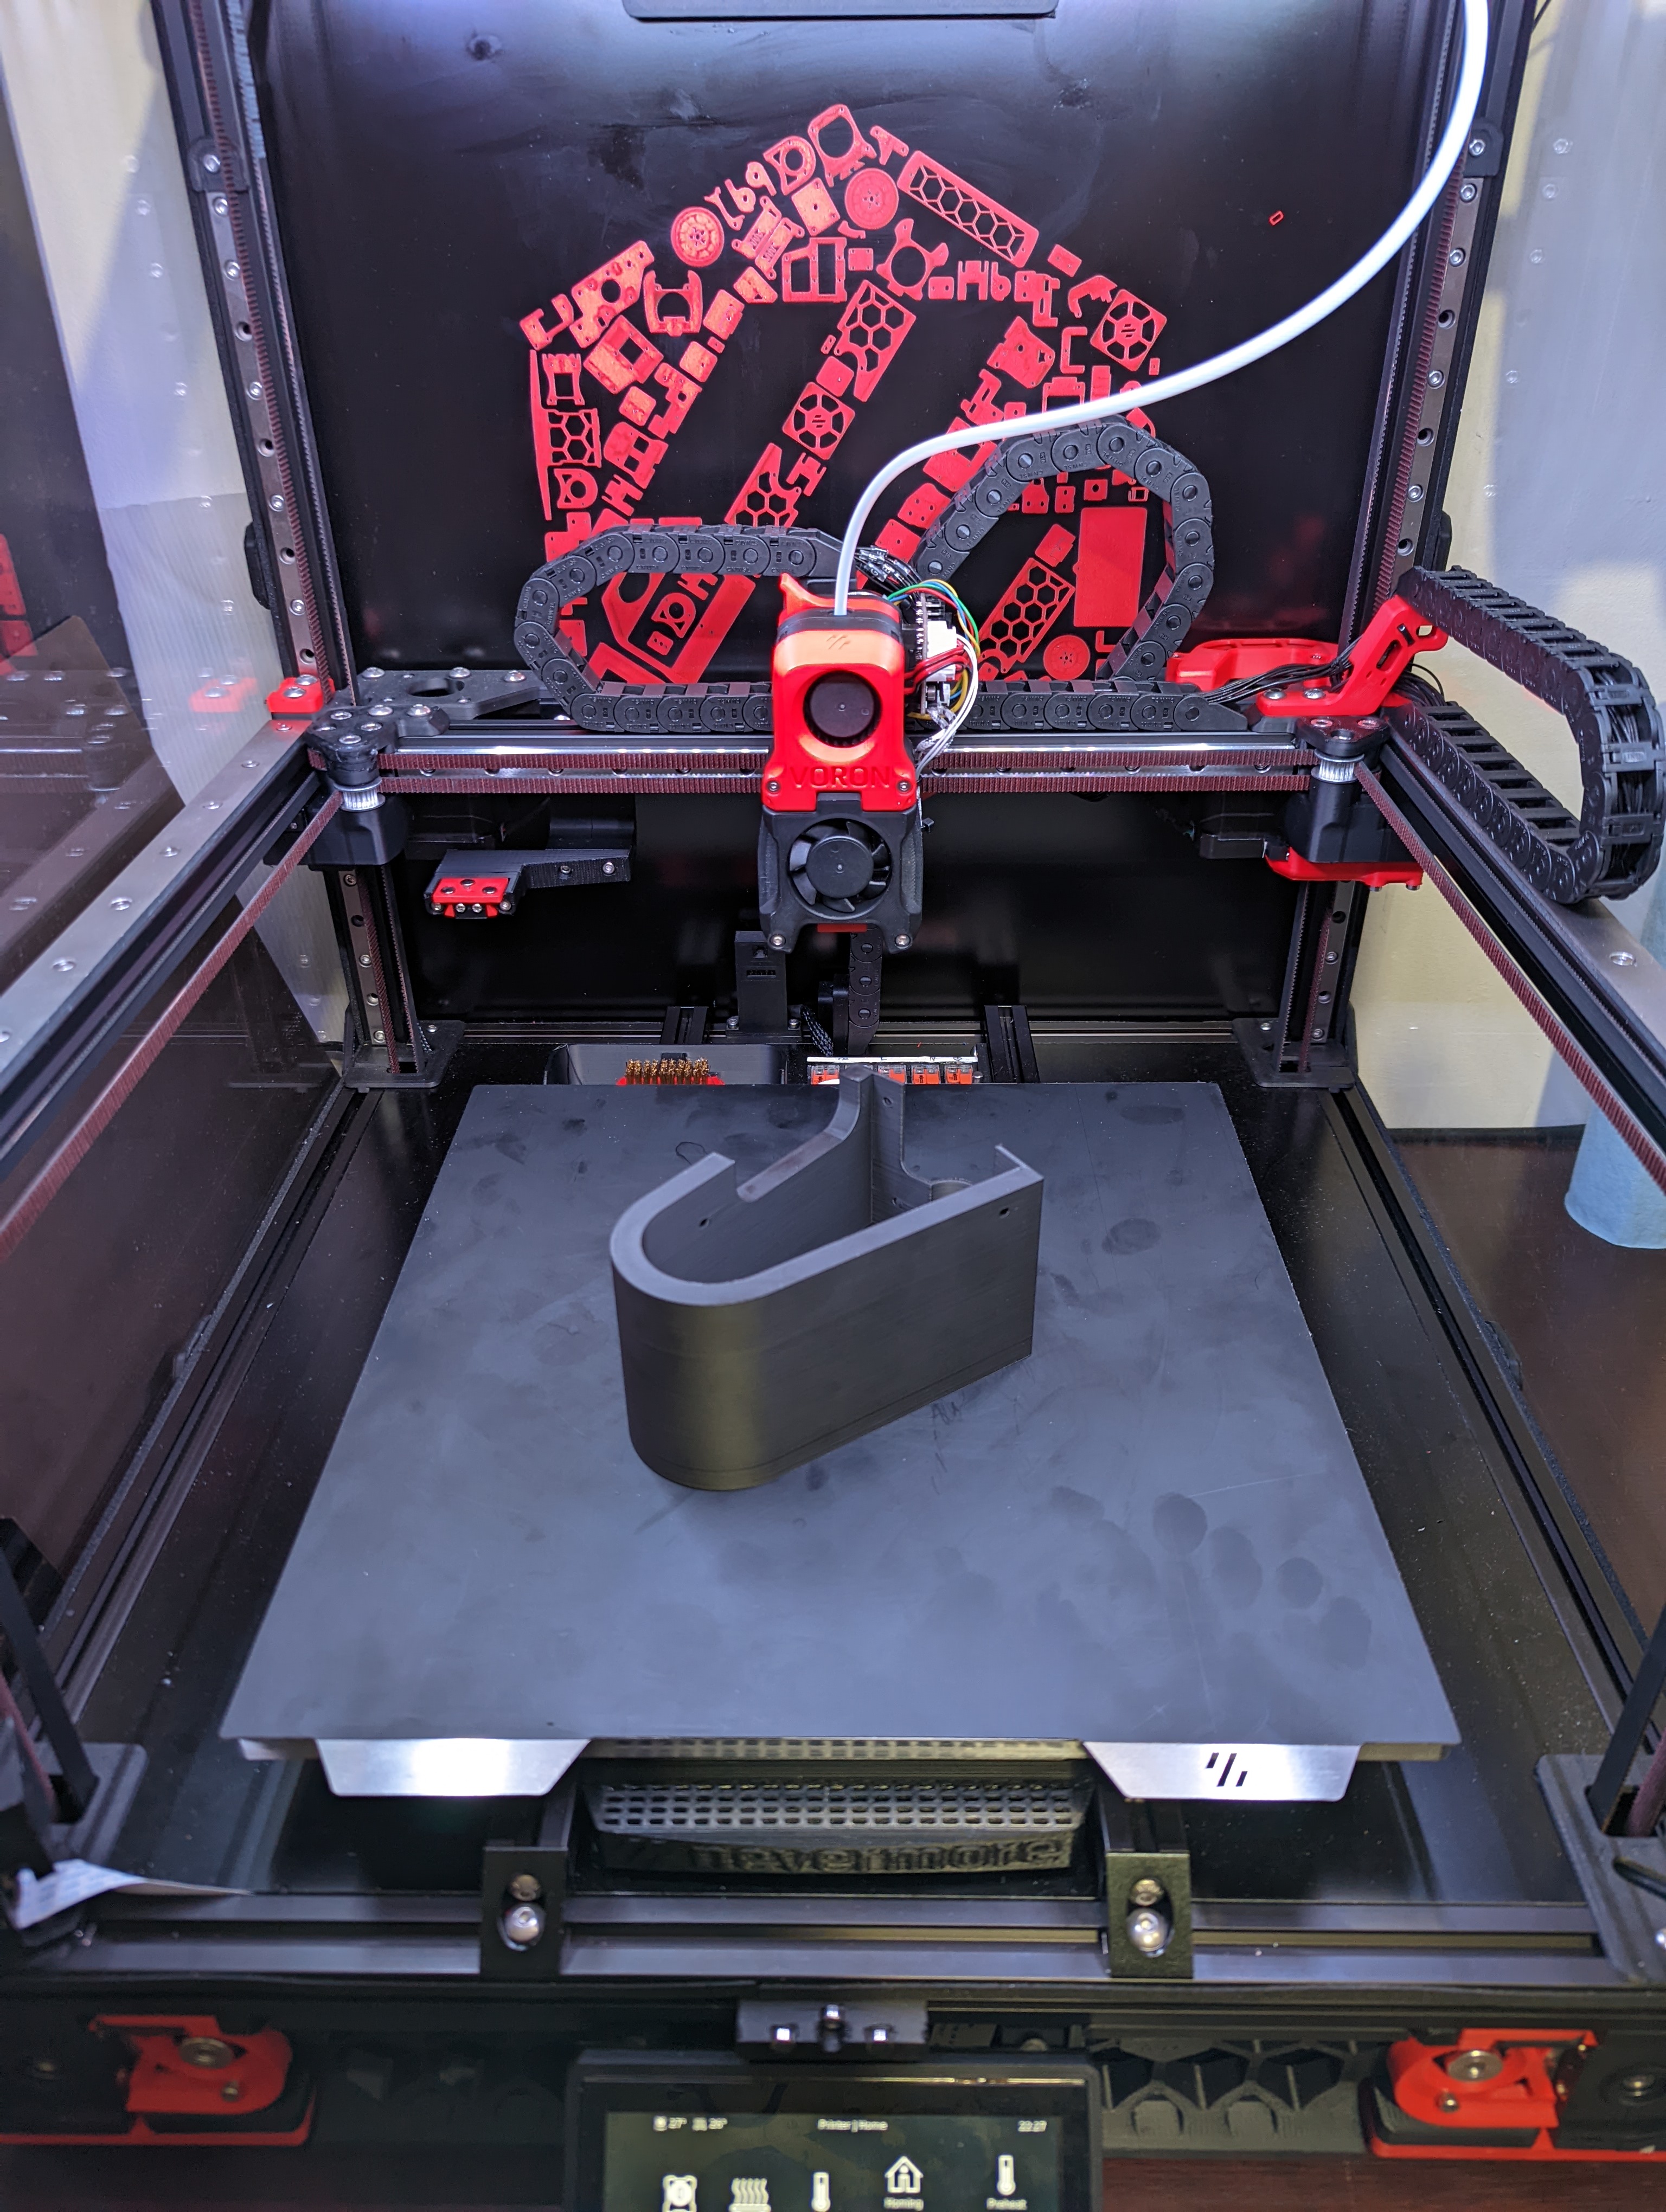
All in all, a single pack took me just over 4kg of ABS to print (not allowing for any mistakes/reprints/adjustments) and around 170 hours of total print time. I’m sure the latter could be pulled in slightly with better packing of build plates, fewer chamber heating cycles, etc. but for the most part these were left to run in the background so I wasn’t trying to do the whole thing in one run. I stuck with ABS as I could easily throw it onto my Vorons, and I just love ABS for post processing. It sands really well, without melting or pilling, and takes adhesives, filles, and paints with no problems. As someone who does a lot of printer building, I’m in the habit of using heat set inserts wherever possible, so for any fittings on the pack that weren’t going to be glued on or that I might want to “upgrade” later, I made sure to use M3-M4 heat sets as appropriate. One thing to note, some of the original parts used on the packs would not have been metric threaded, so this is not a perfect solution if you’re expecting to use those directly.
Processing and Painting
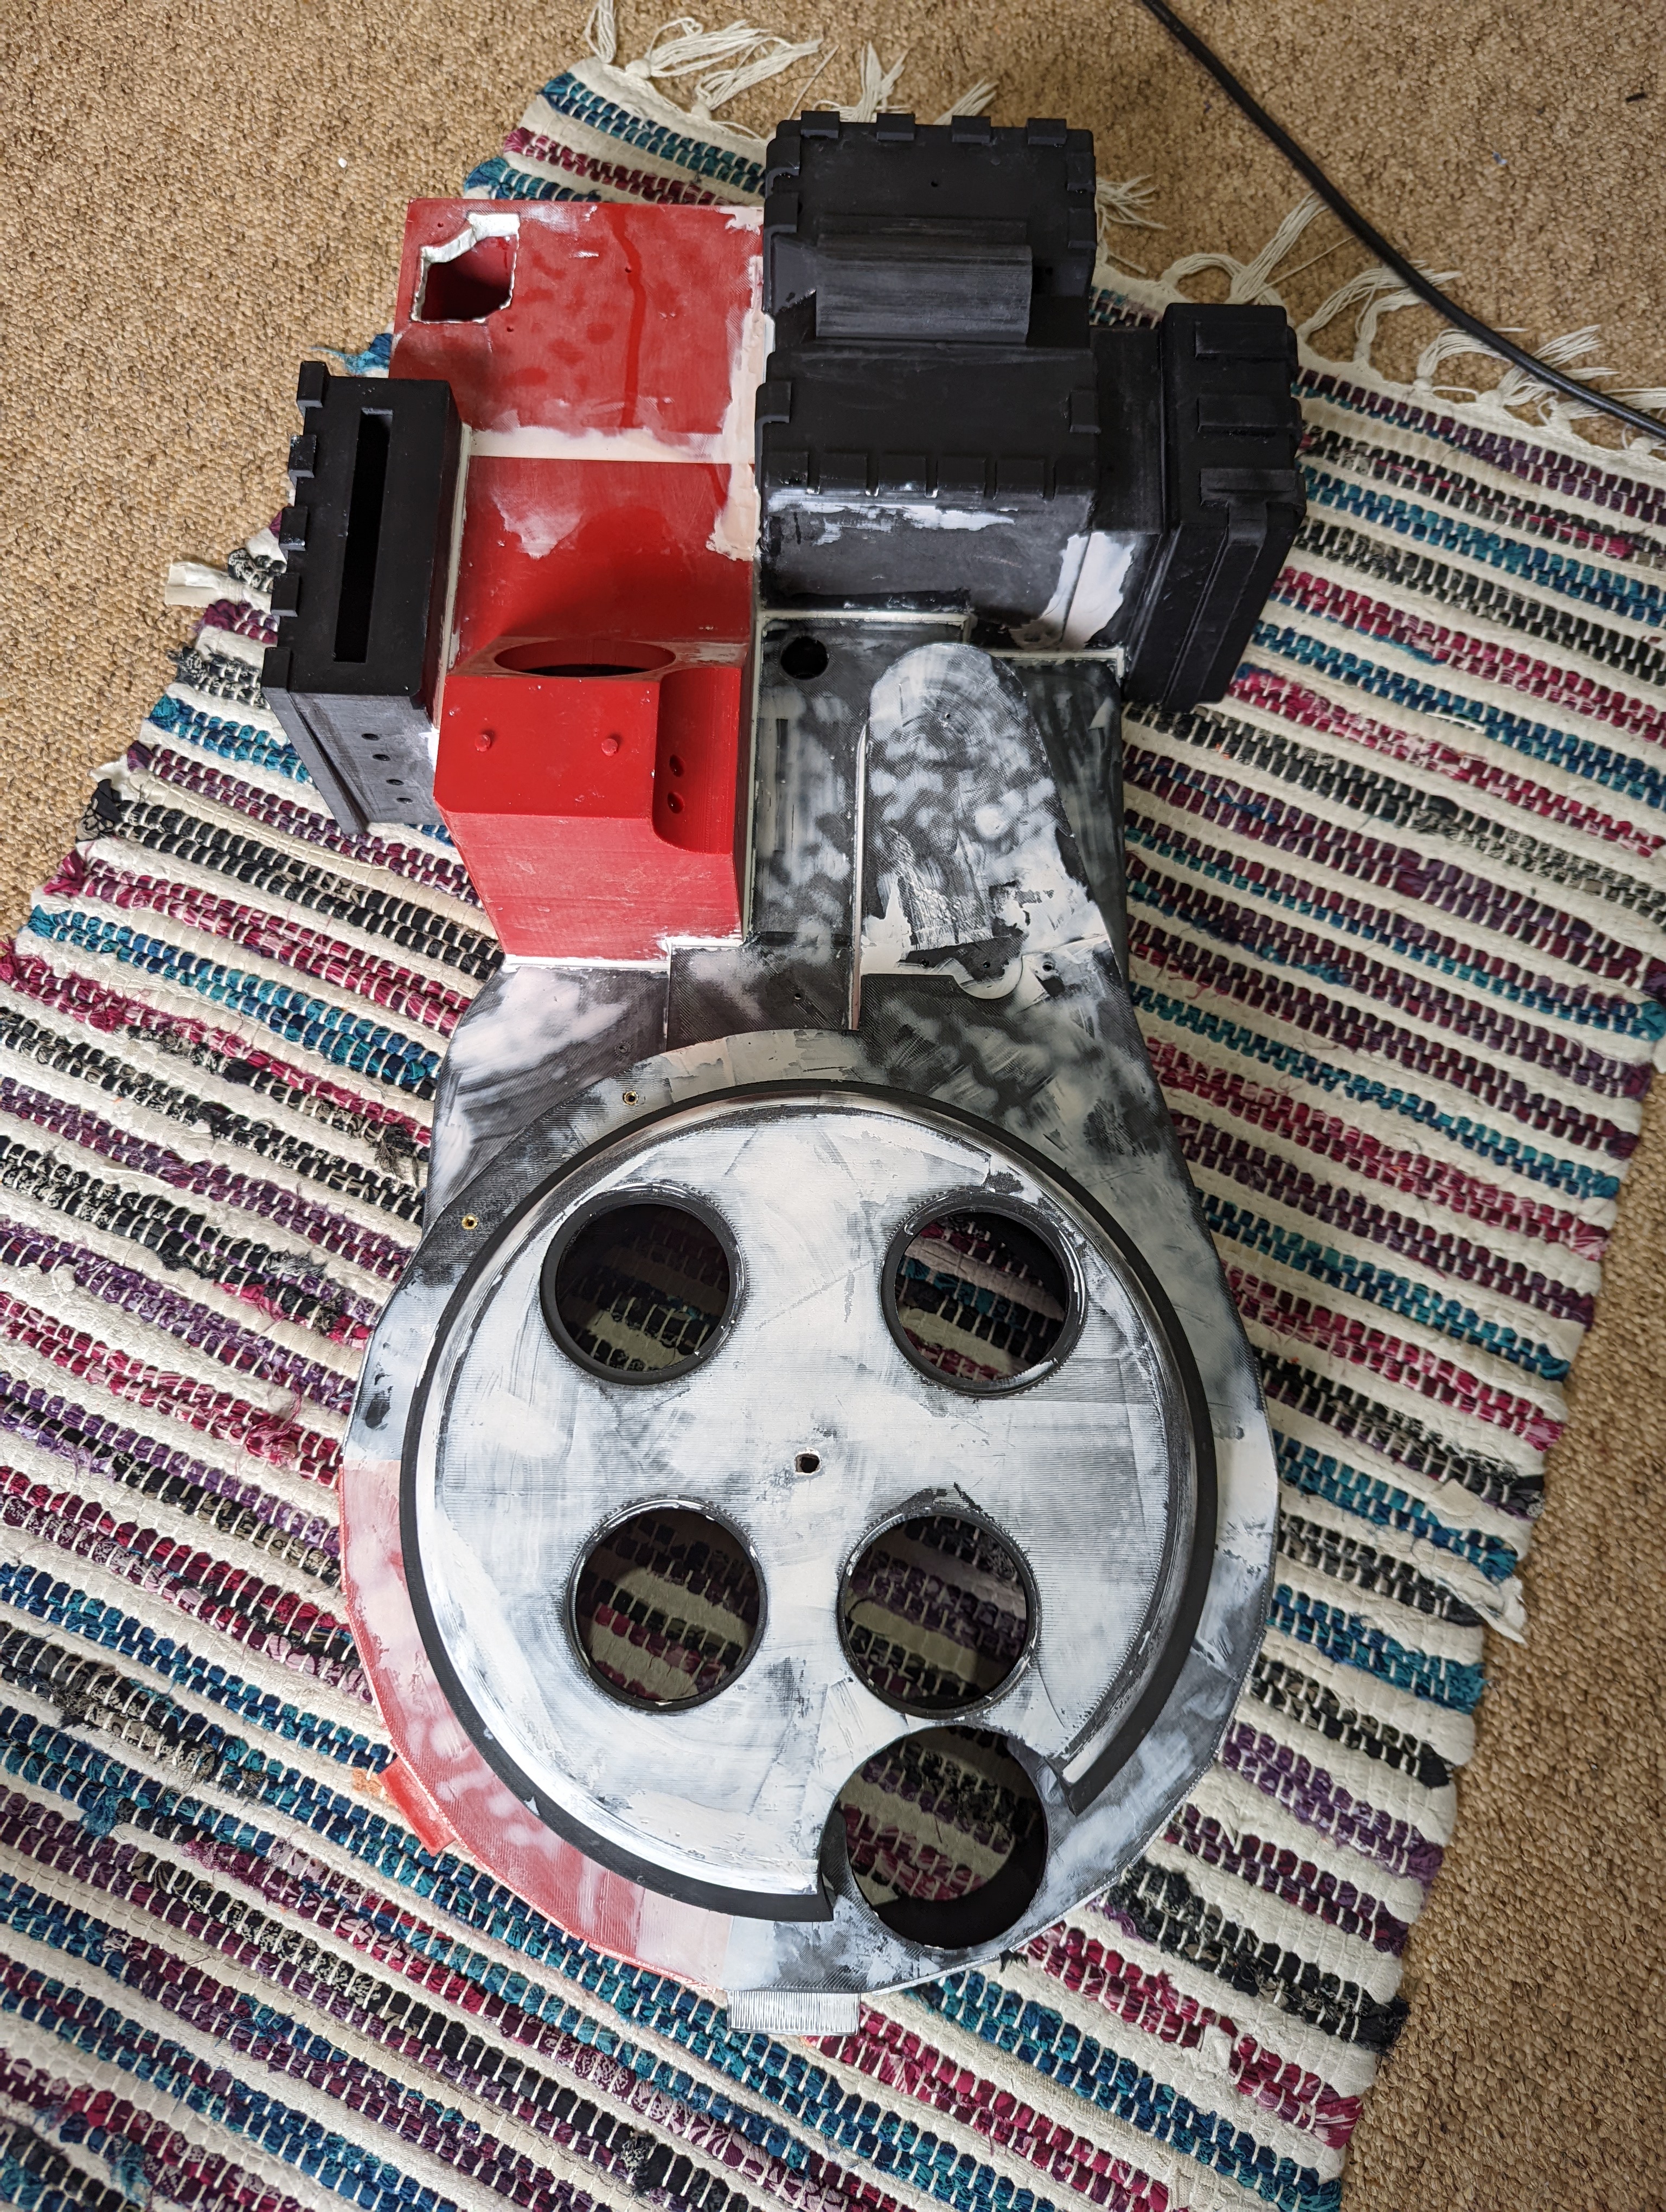
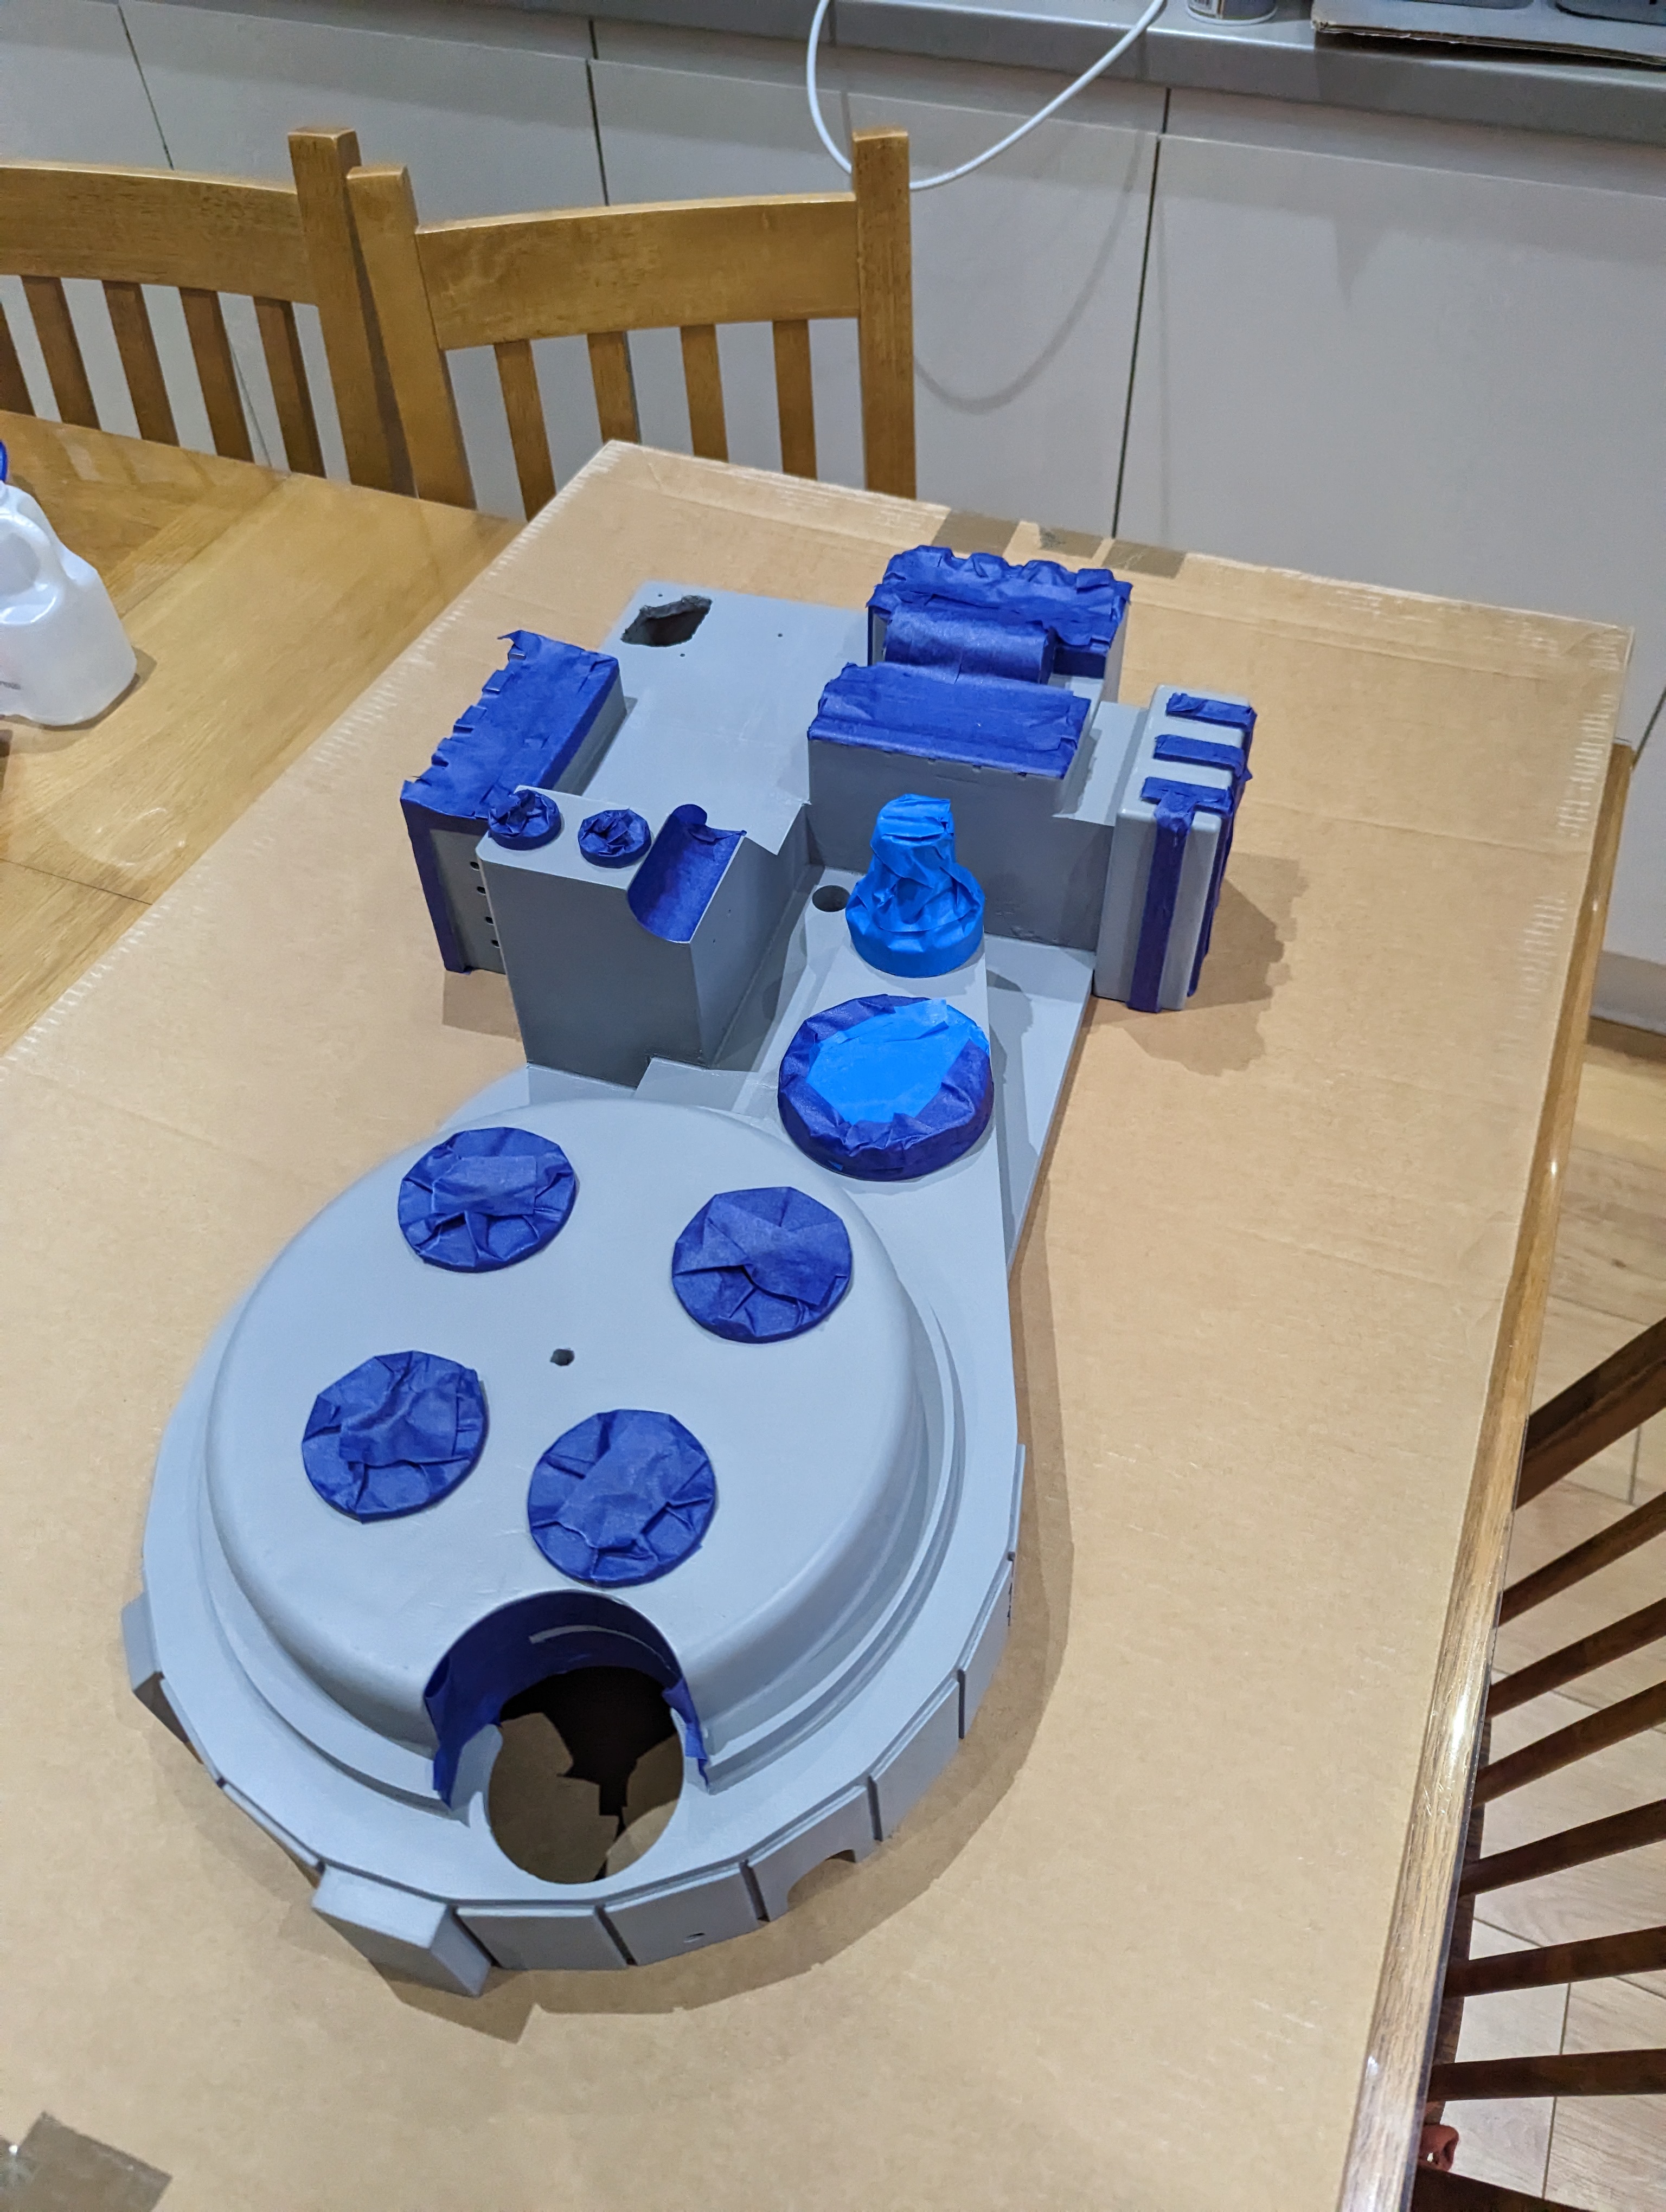
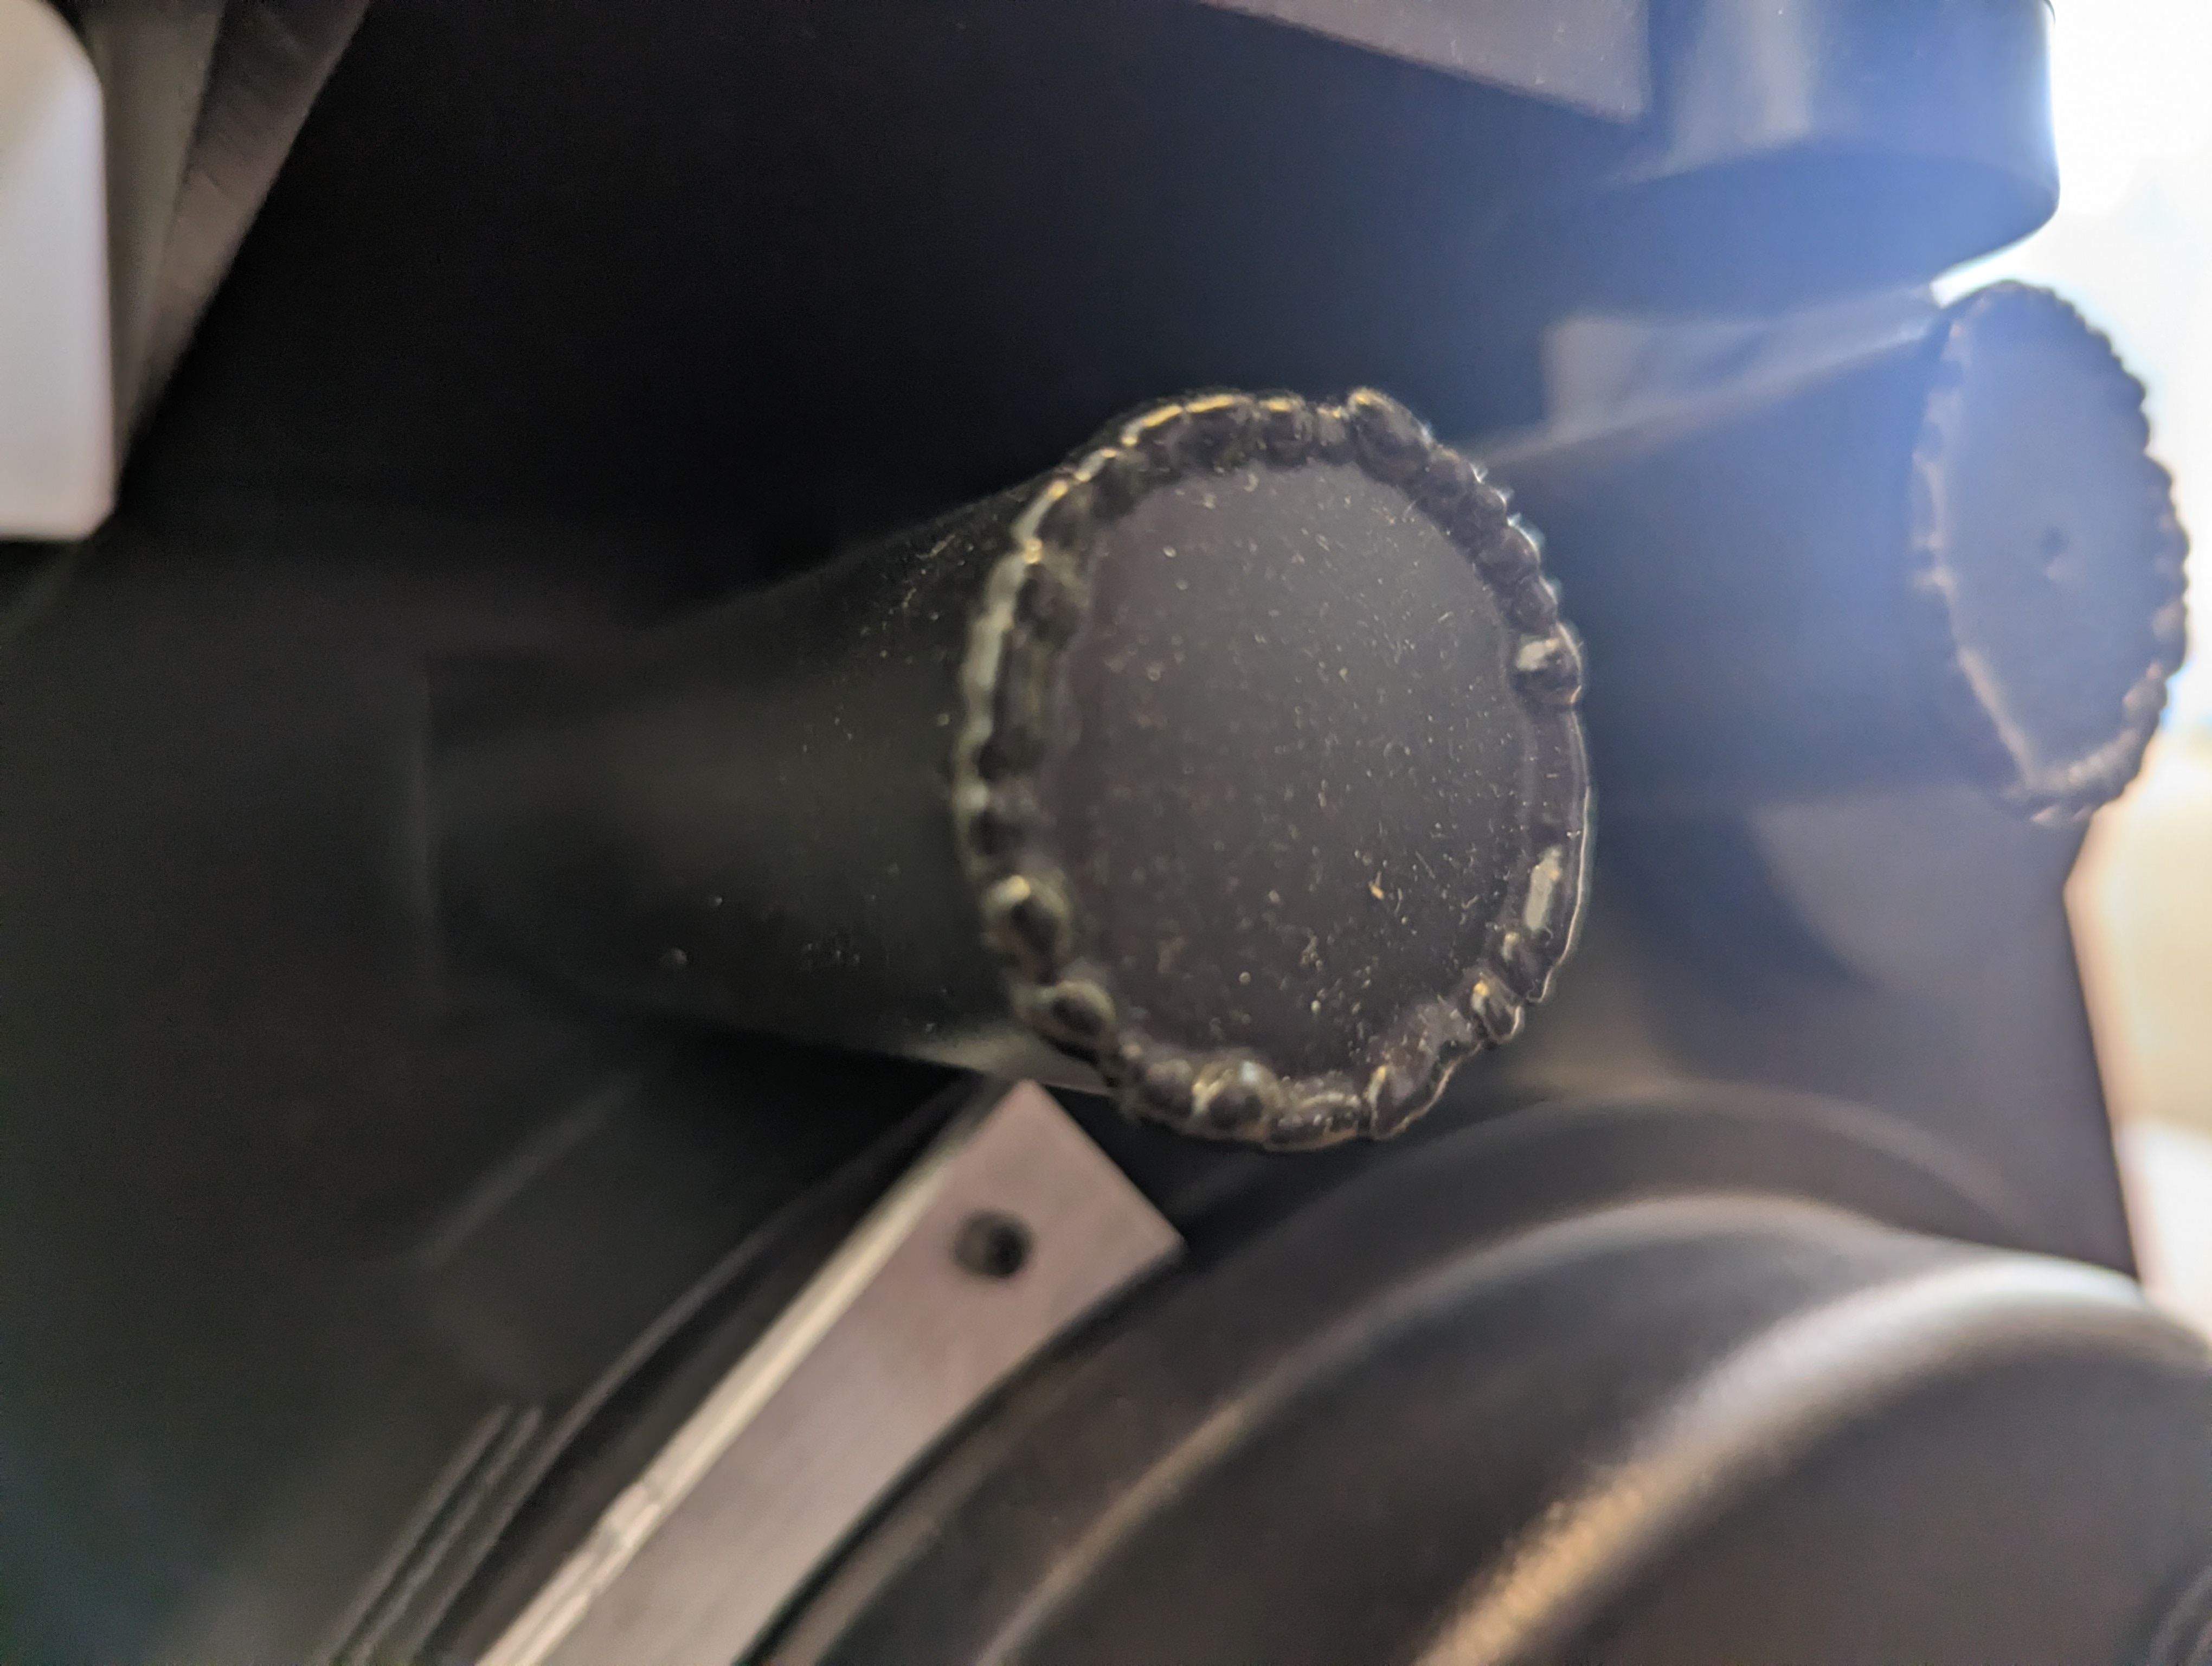
Appetite for post-processing is going to depend on how good your prints are and how picky you are about detail. Enough paint and decoration can hide many sins, but at the very least you’re going to need to conceal any join lines from gluing parts together. My goto for filling small imperfections was Holts knifing putty as it sets hard and quick. Miliput epoxy putty was used for bigger gap fills, chamfering corners, and making fake welds lines on some of the parts. Then it was just a series of runs of sanding to various degrees, applying filler primer, sanding that back again and re-applying until I thought the pack was ready for a colour coat.
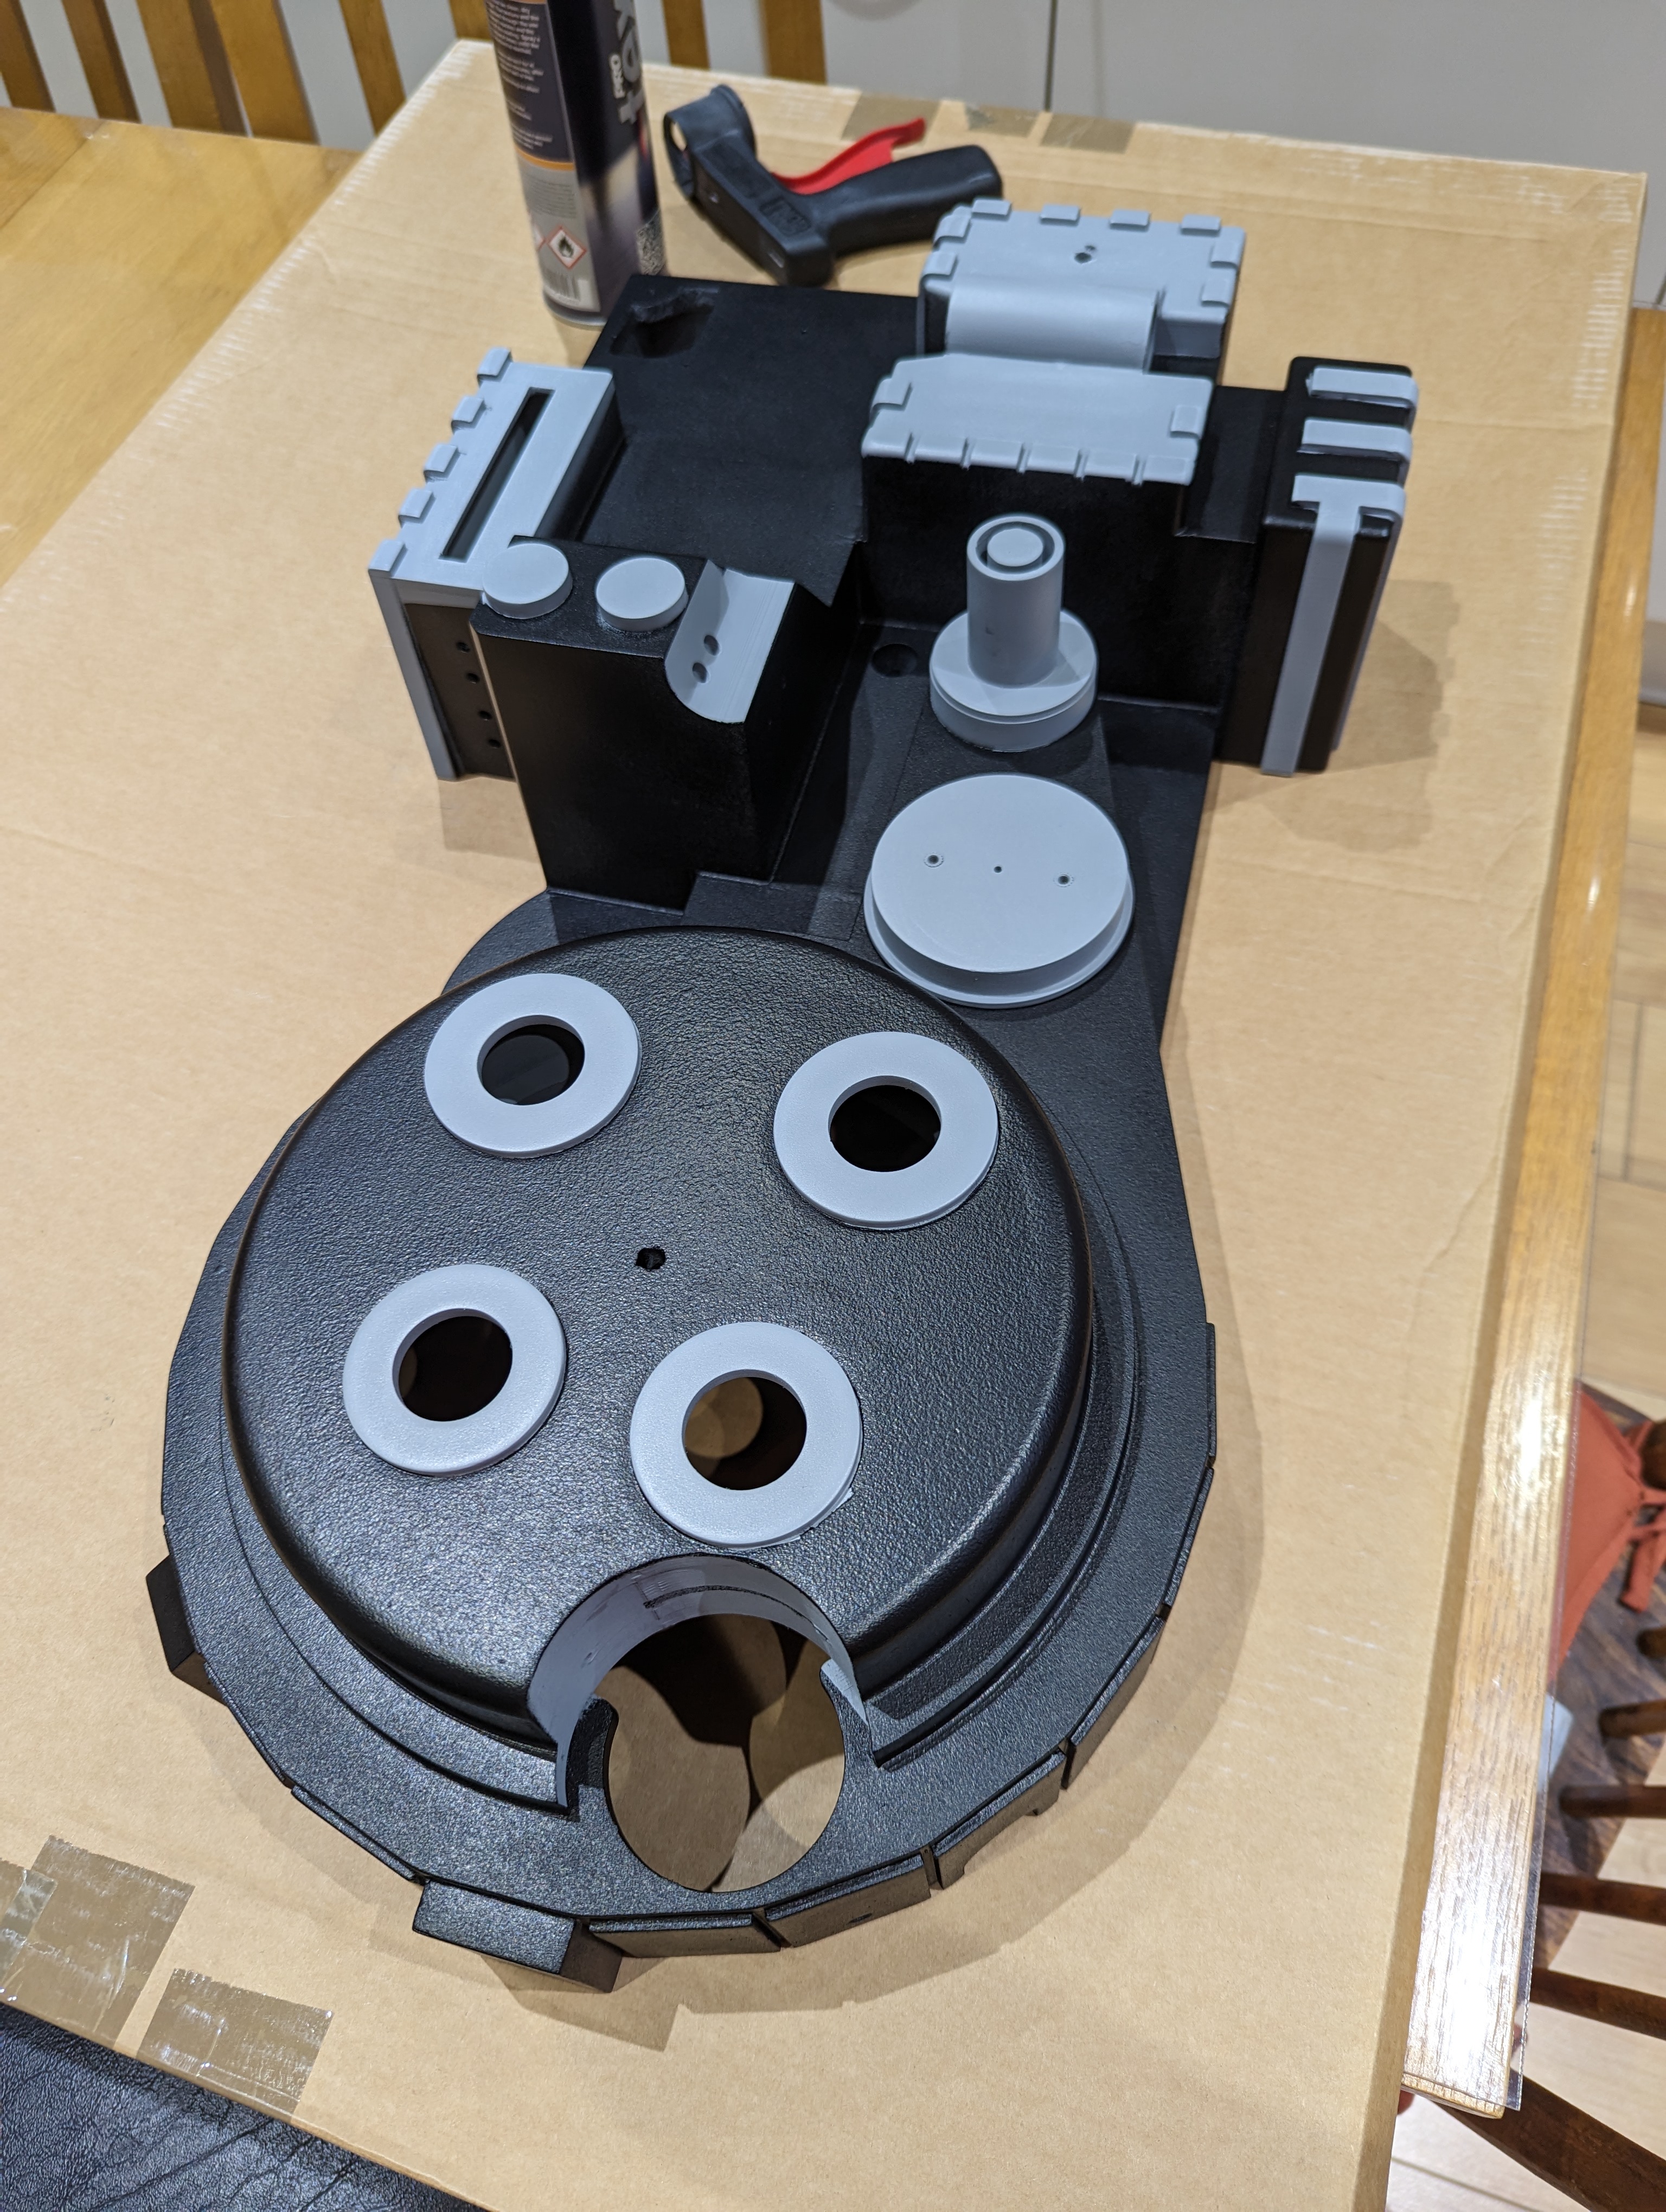
Texturing the pack shell is something that most builders do. While it may be that texture on the original pack was a result of the molds used, I think it adds to the pack by making it feel like it’s actually undergone construction. In the UK, the best product I found for this was ProXL ProTex. It sets very quickly, and is quite forgiving to use, though worth testing it on a bit of scrap / cardboard before using it in anger. You can find references on GBFans.com for what areas of your pack to texture and where to mask, though I warn you that you may fall down quite a rabbit hole of obsession on this one!
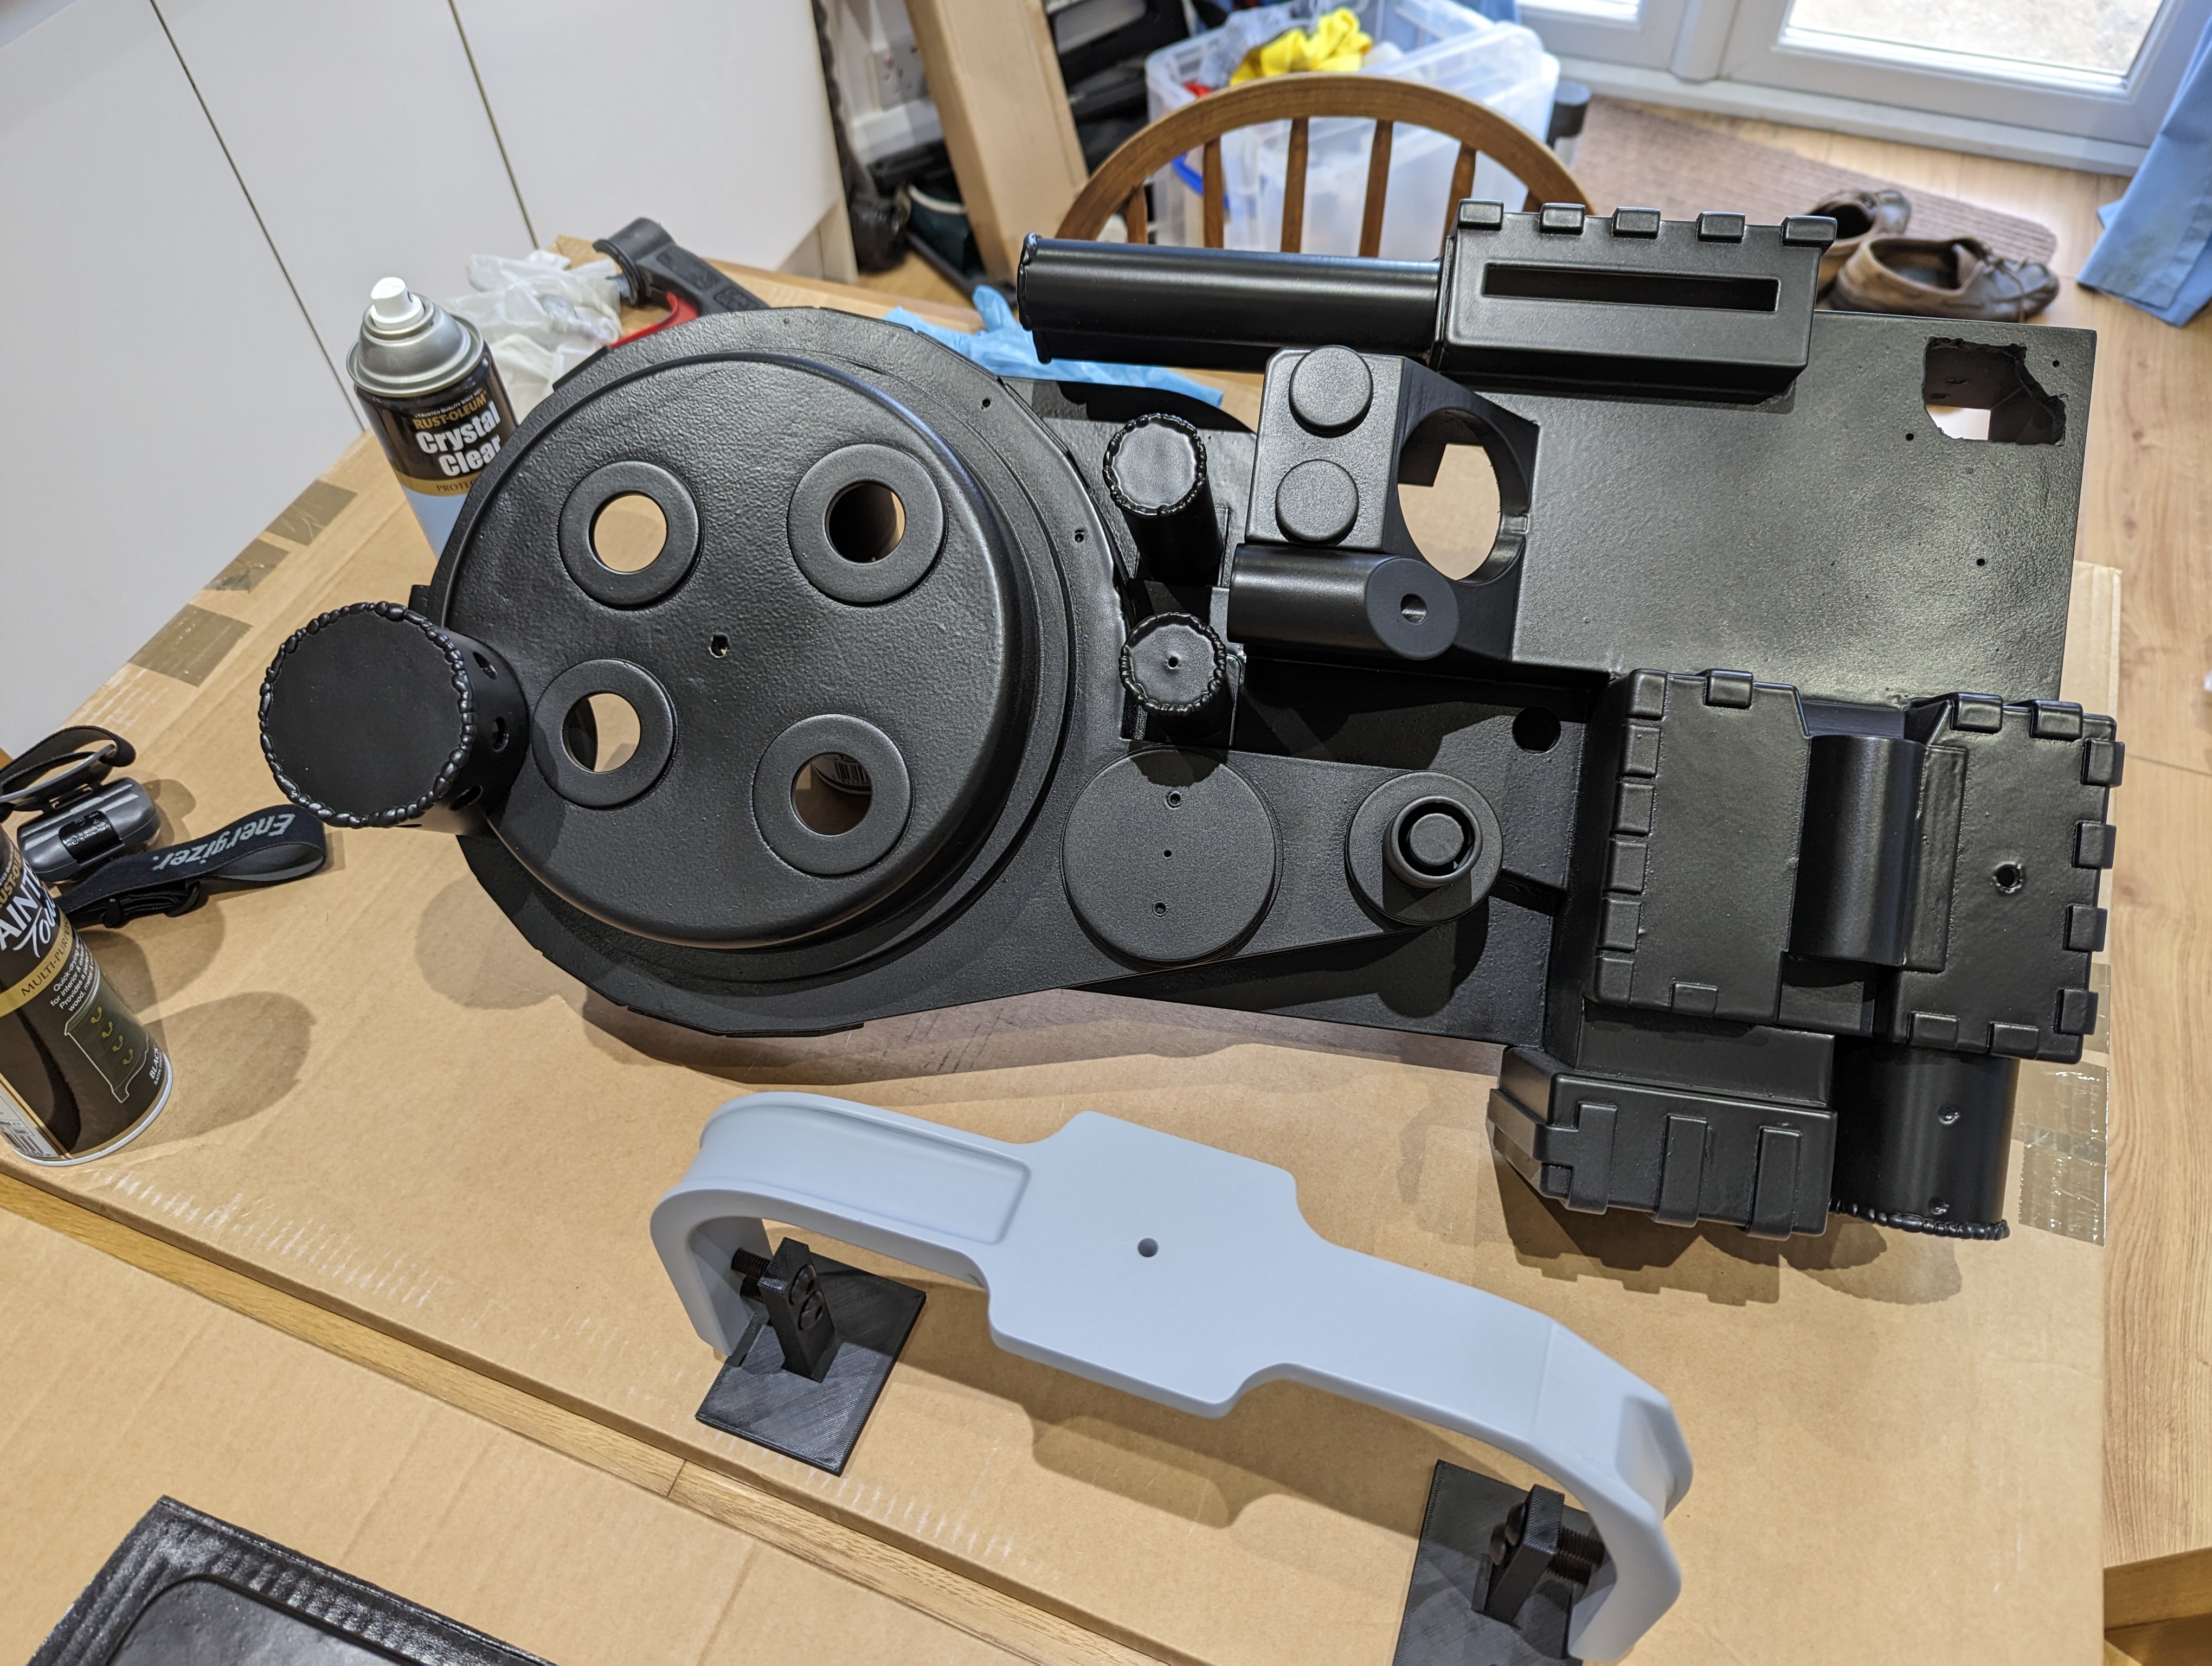
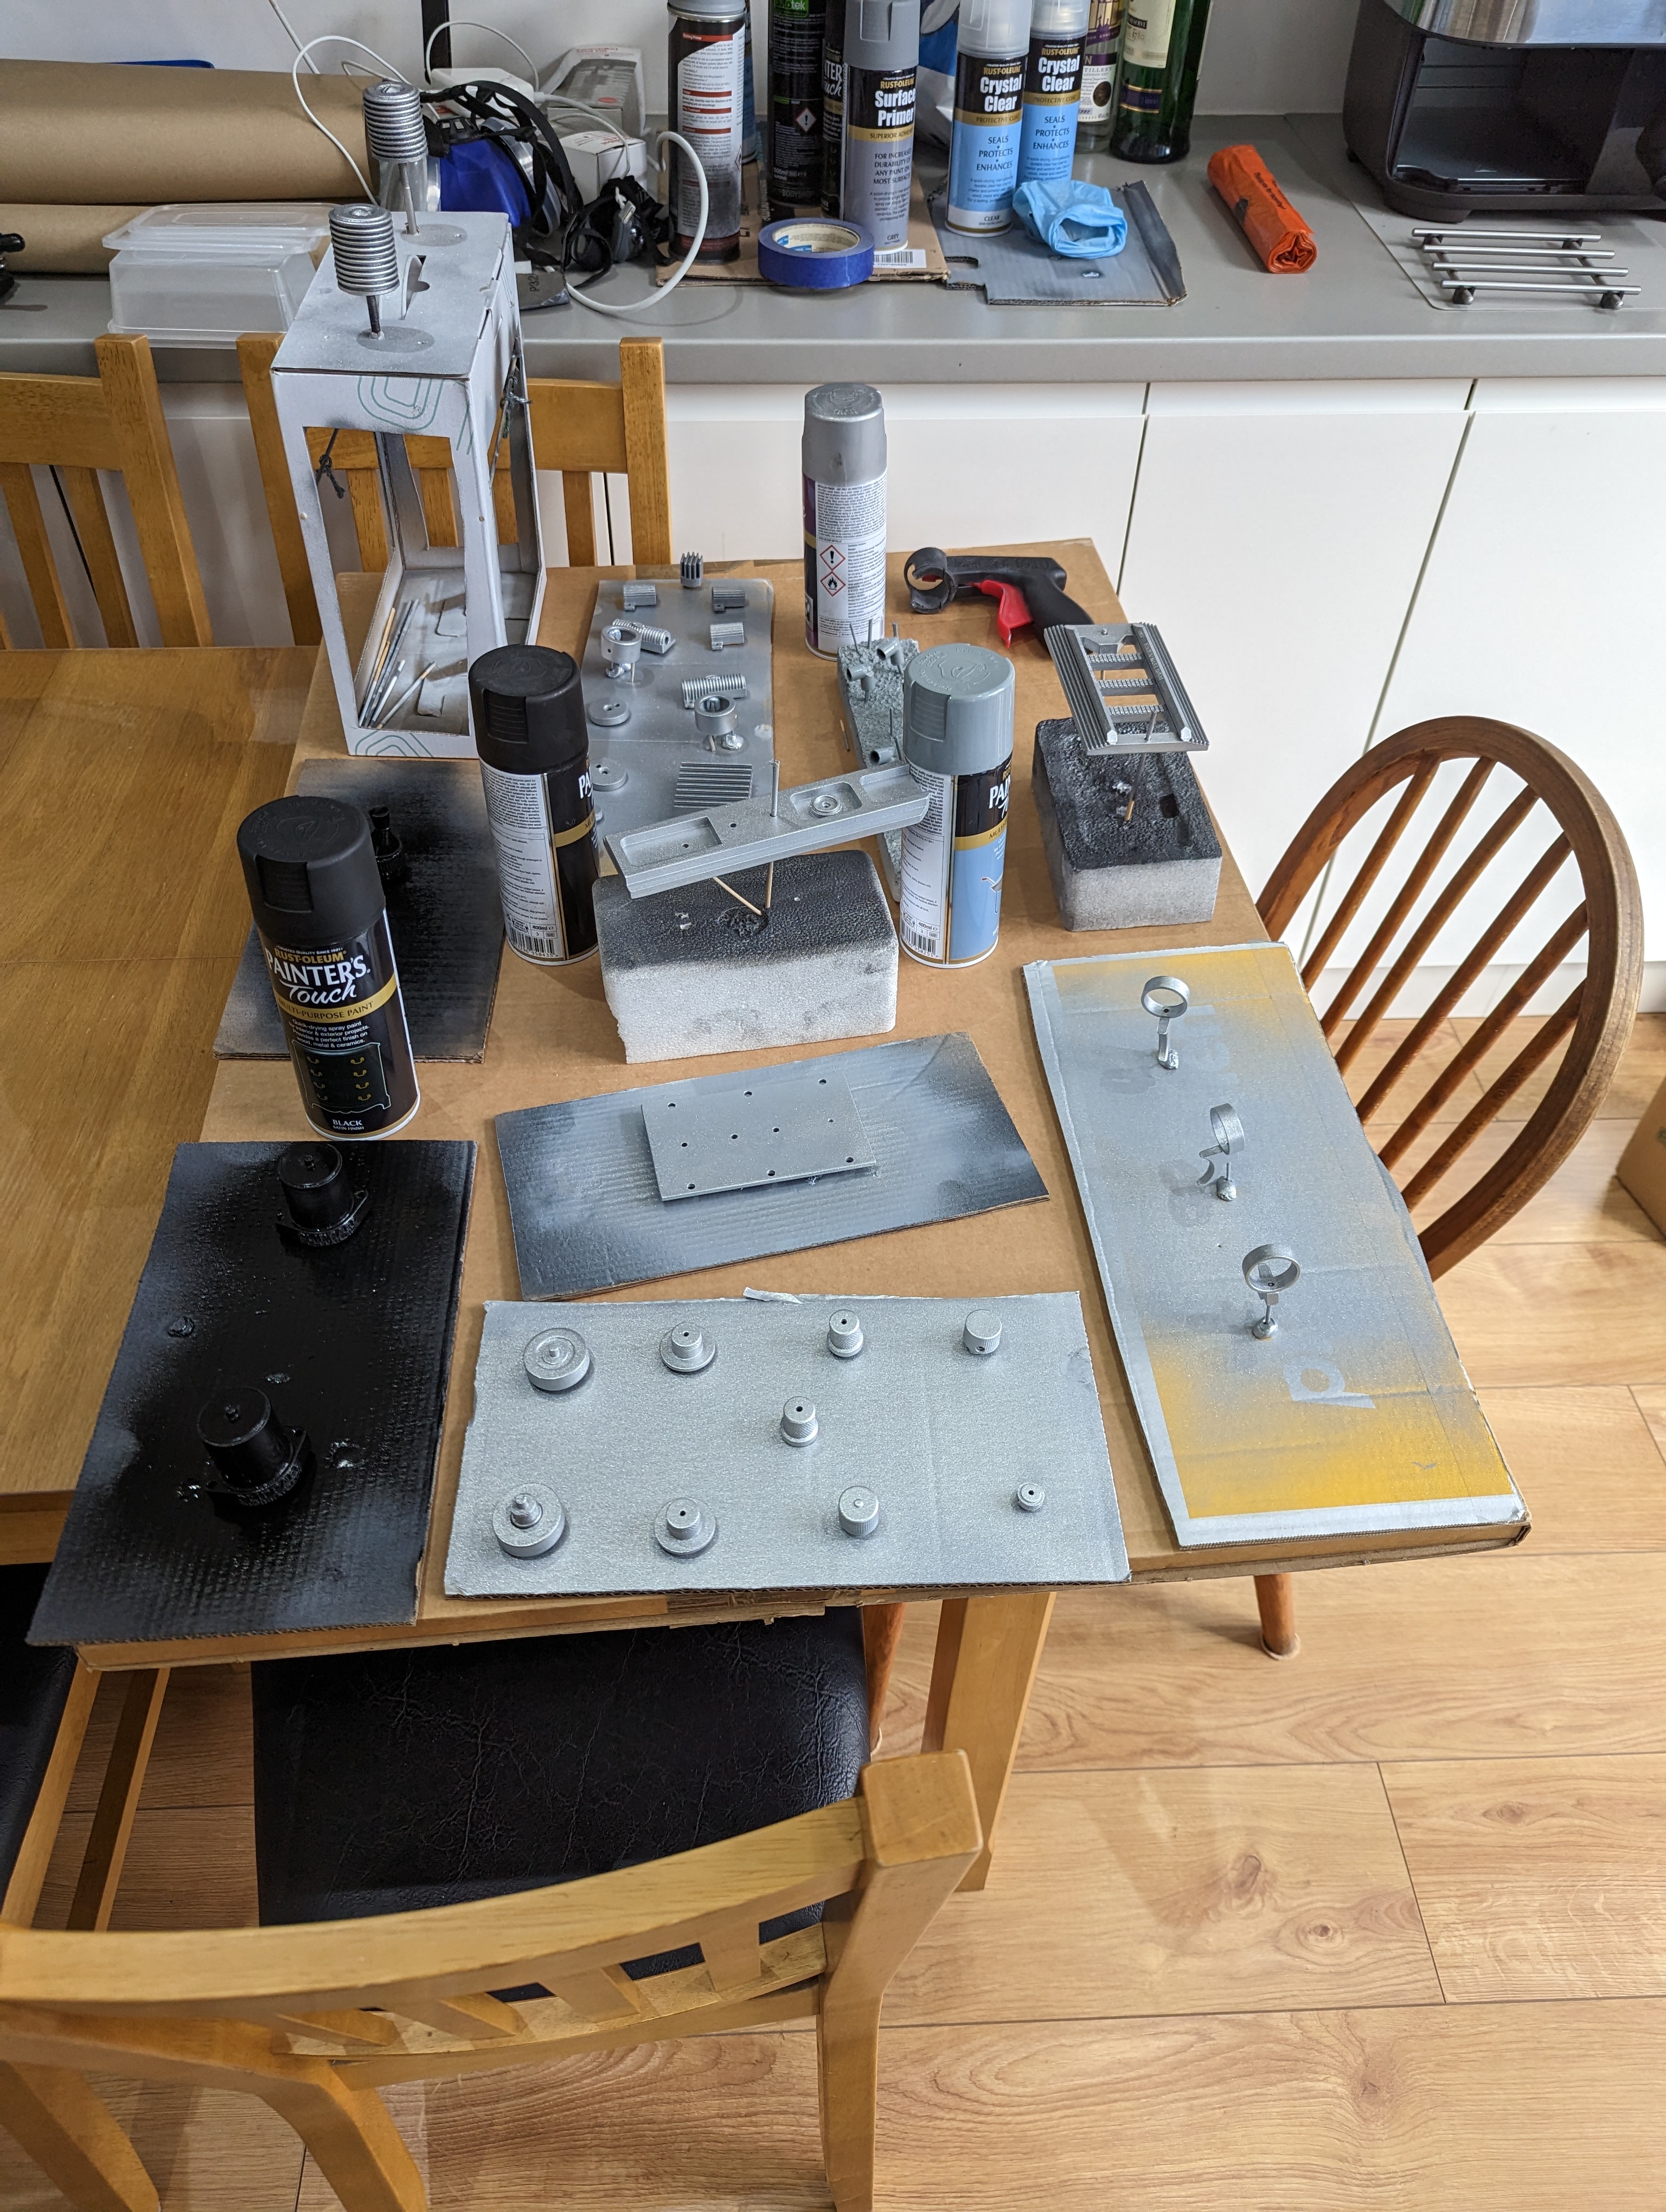
For the black parts of the pack I stuck with Rustoleum Satin Black with a Rustoleum Matt clear coat to knock the shine back. Some smaller parts were done pure matt and some full gloss to taste, and any metallic parts where I could not find a suitable real-part were done with a gun-metal spray. I’m not the neatest spray painted in the world, but I cannot recommend one of these spray gun grips more. They made neat spraying a breeze, and comfortable for long runs. Don’t forget your respirator though!
Other Fittings
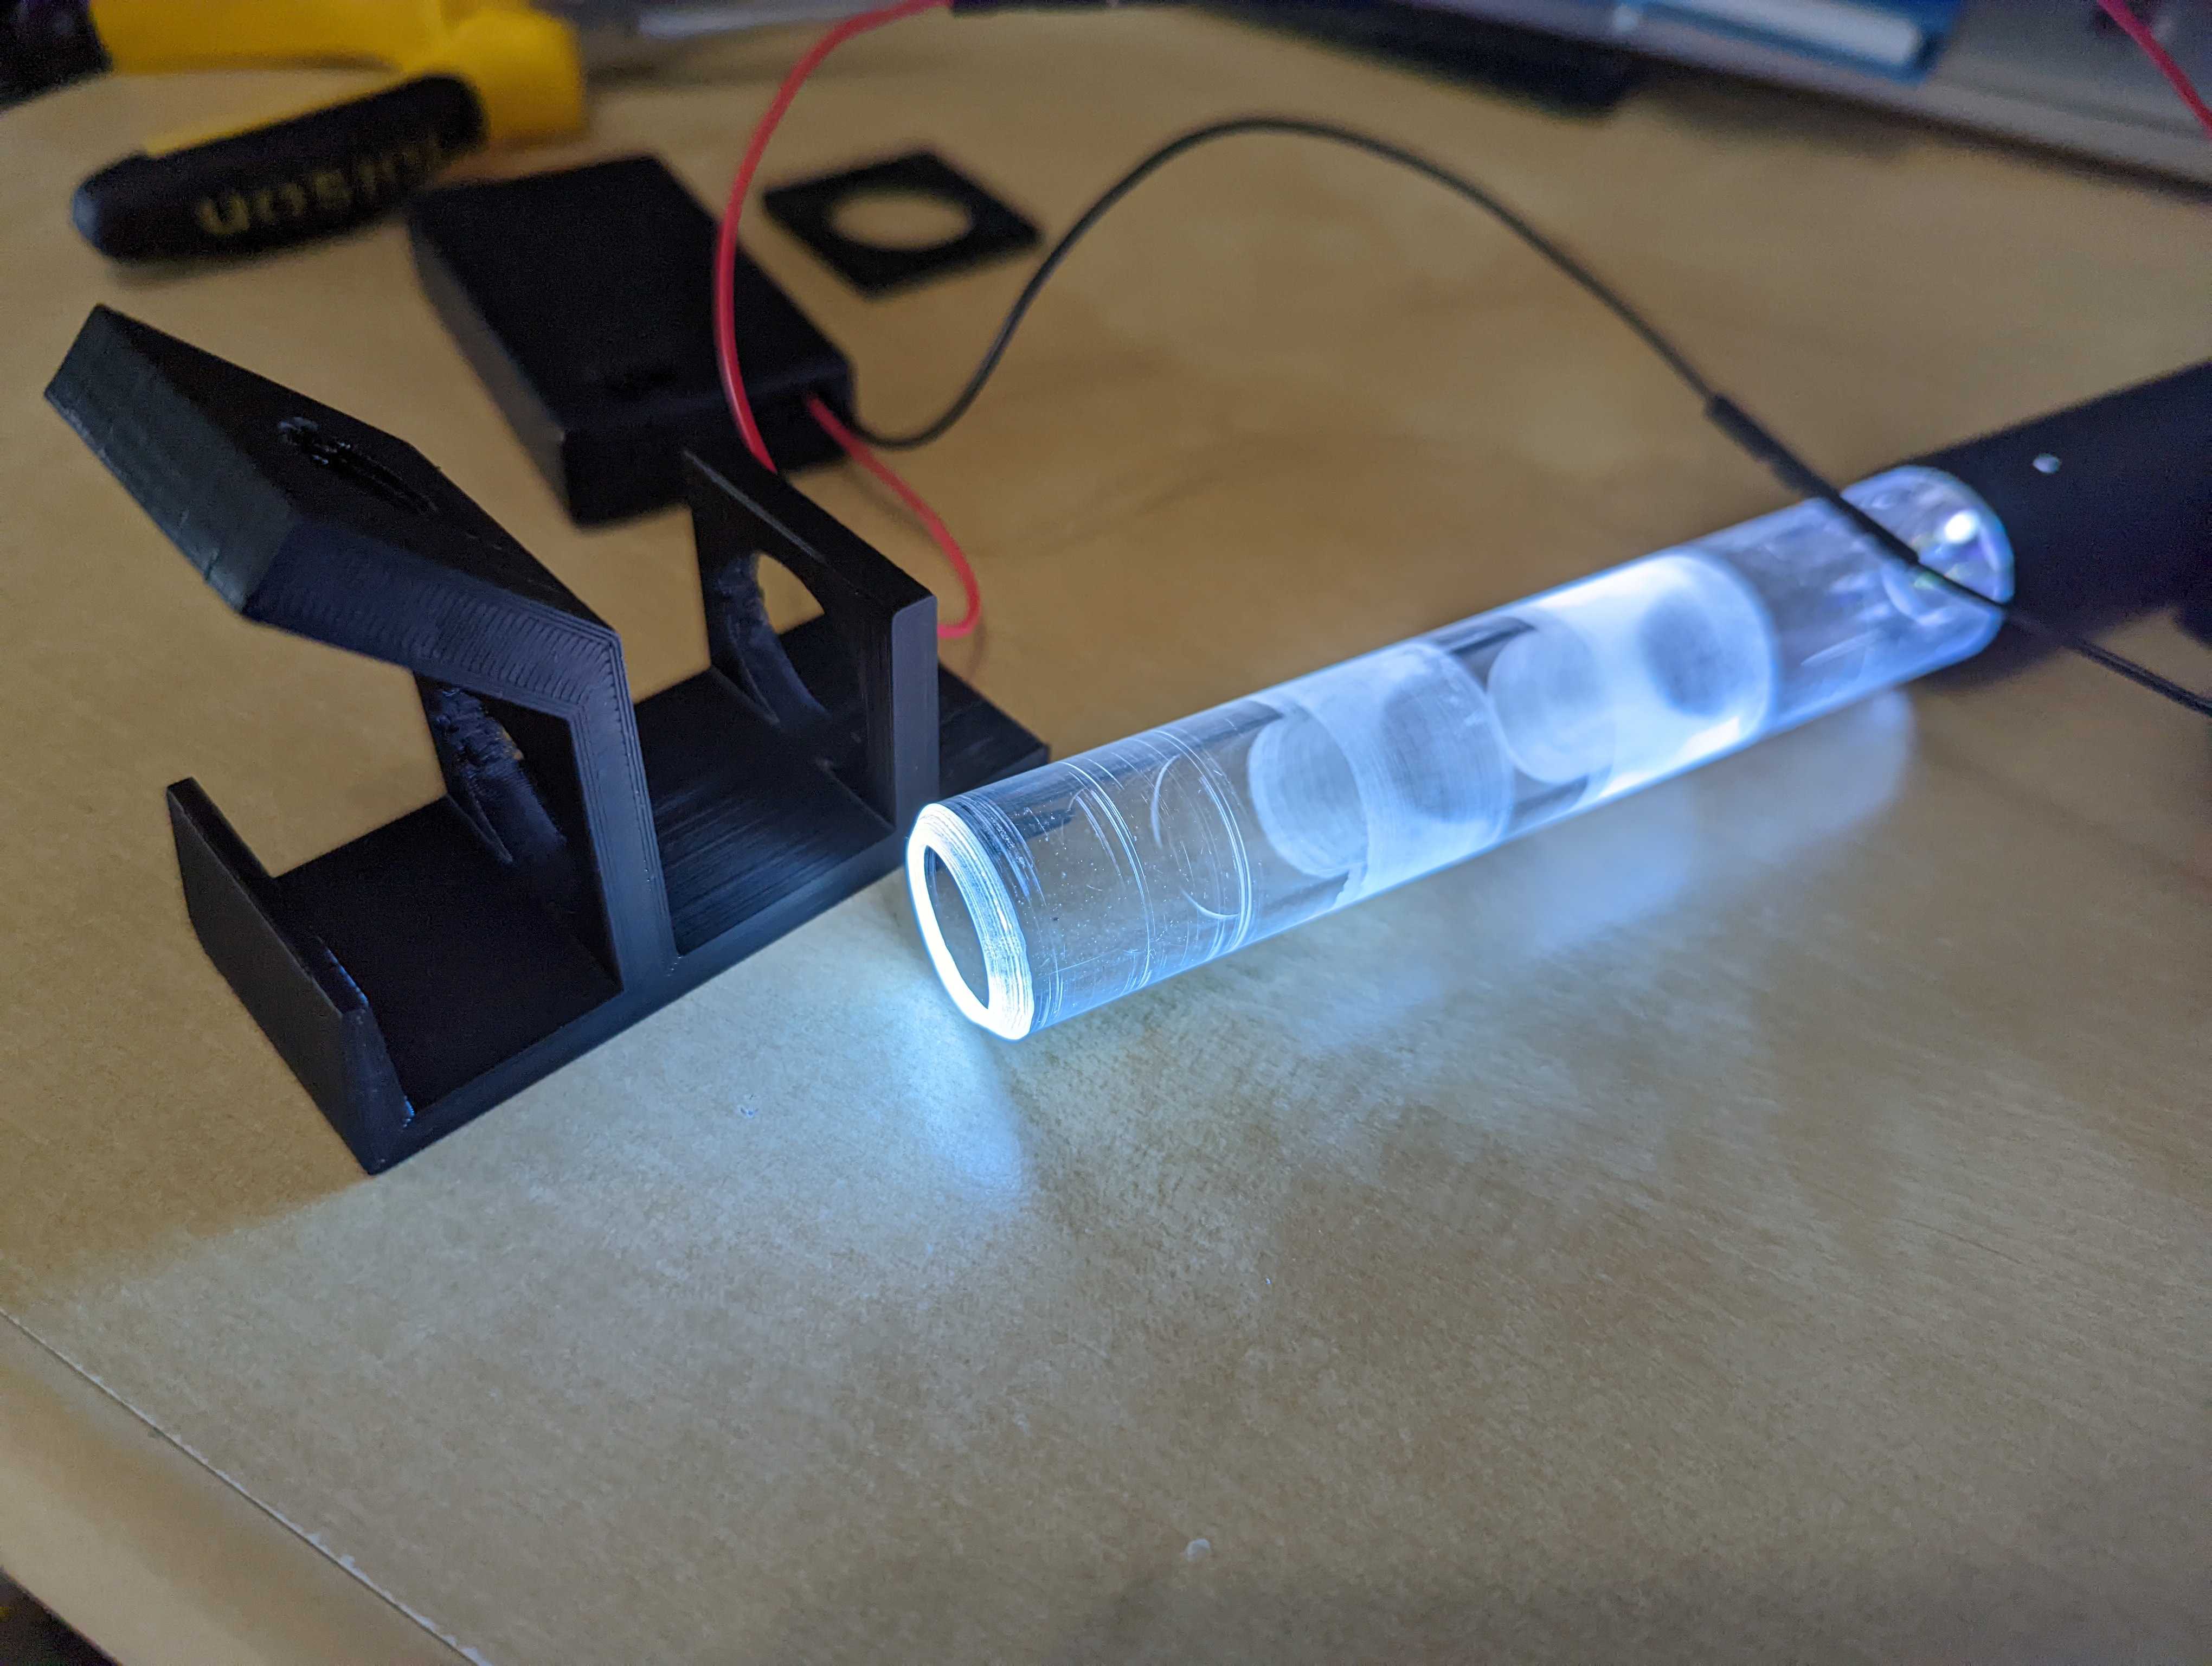
Specs and sources for tubing and hoses can be found on the GBFans forums and are easy enough to find in the local market. Lenses and tubes for the barrels are similarly down to the individual to source - basic tinted acrylic does wonders for the lenses, and acrylic tube with some “frosting” sanded into it for the barrel really helps to show off any light effects you have. For some of the metallic parts of the pack, I didn’t like the idea of painted plastic, so either bought or built alternatives. I’d recommend Ben of Kent Props on Etsy, where you can find some great repro metal parts. I grabbed some of his V/S-Hooks as I didn’t like the idea of plastic ones for strength, and his metal ion arm after a few abortive attempts of my own to cut threads onto some brass rod by hand!
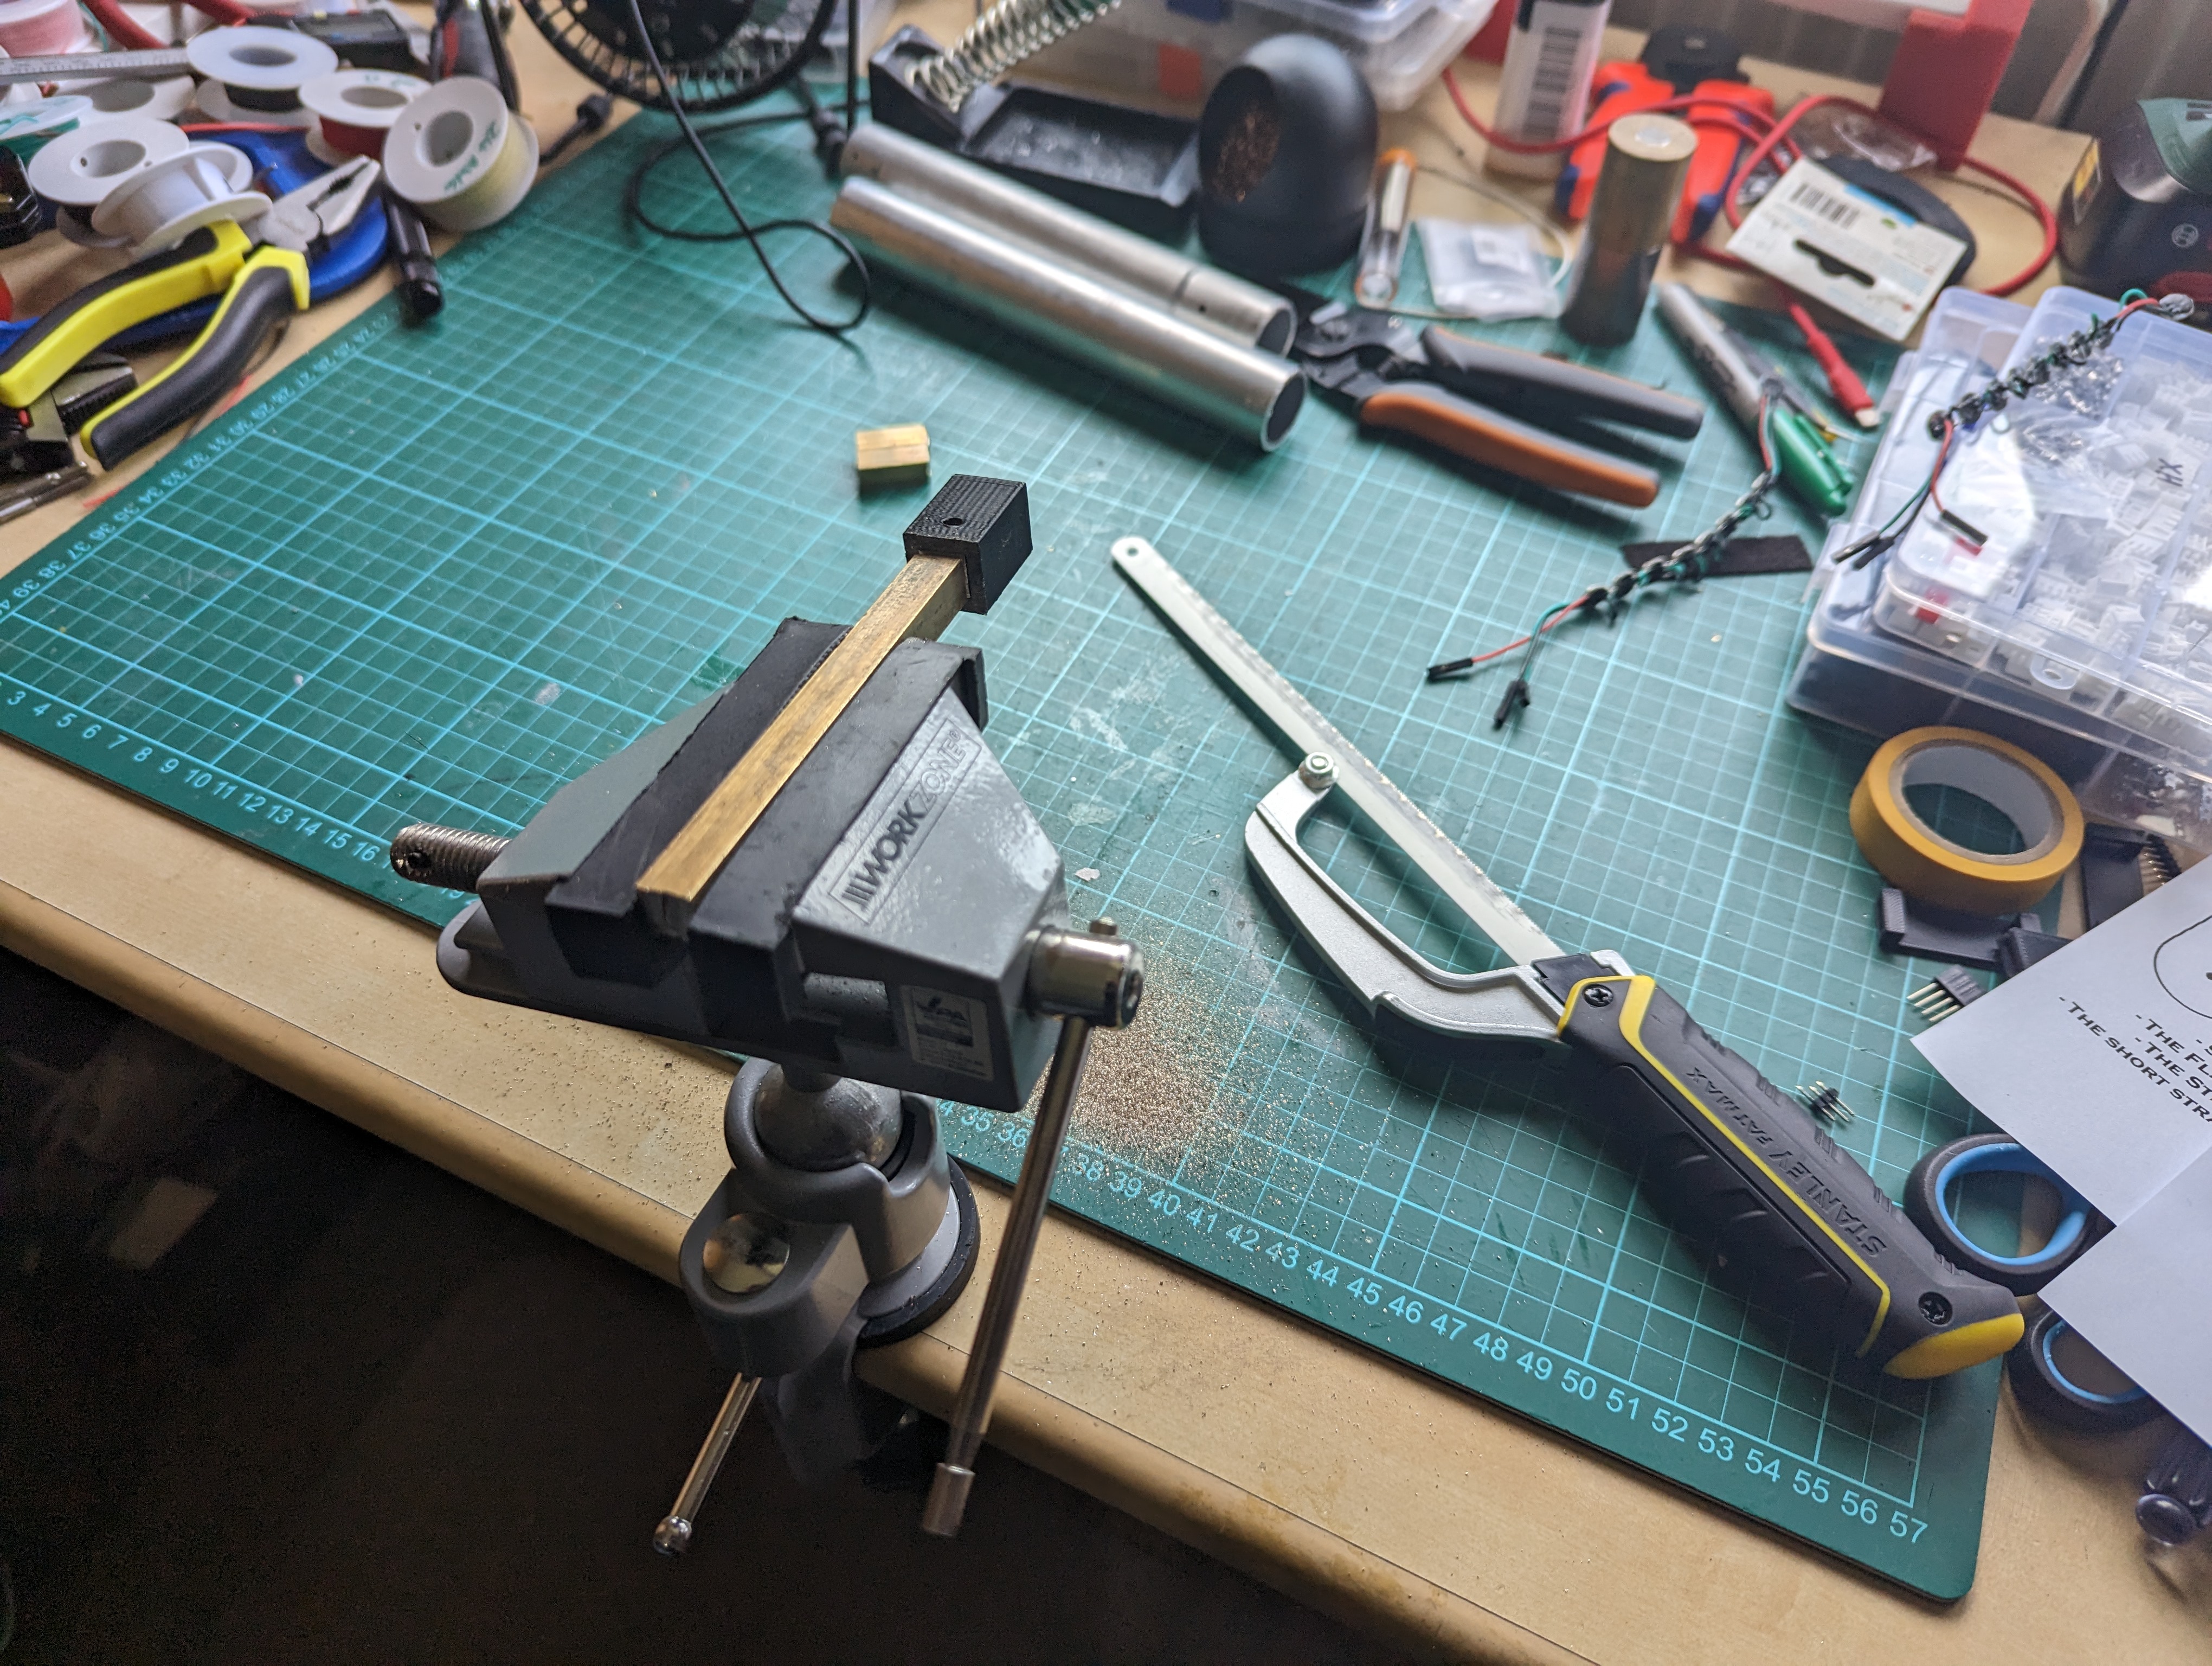
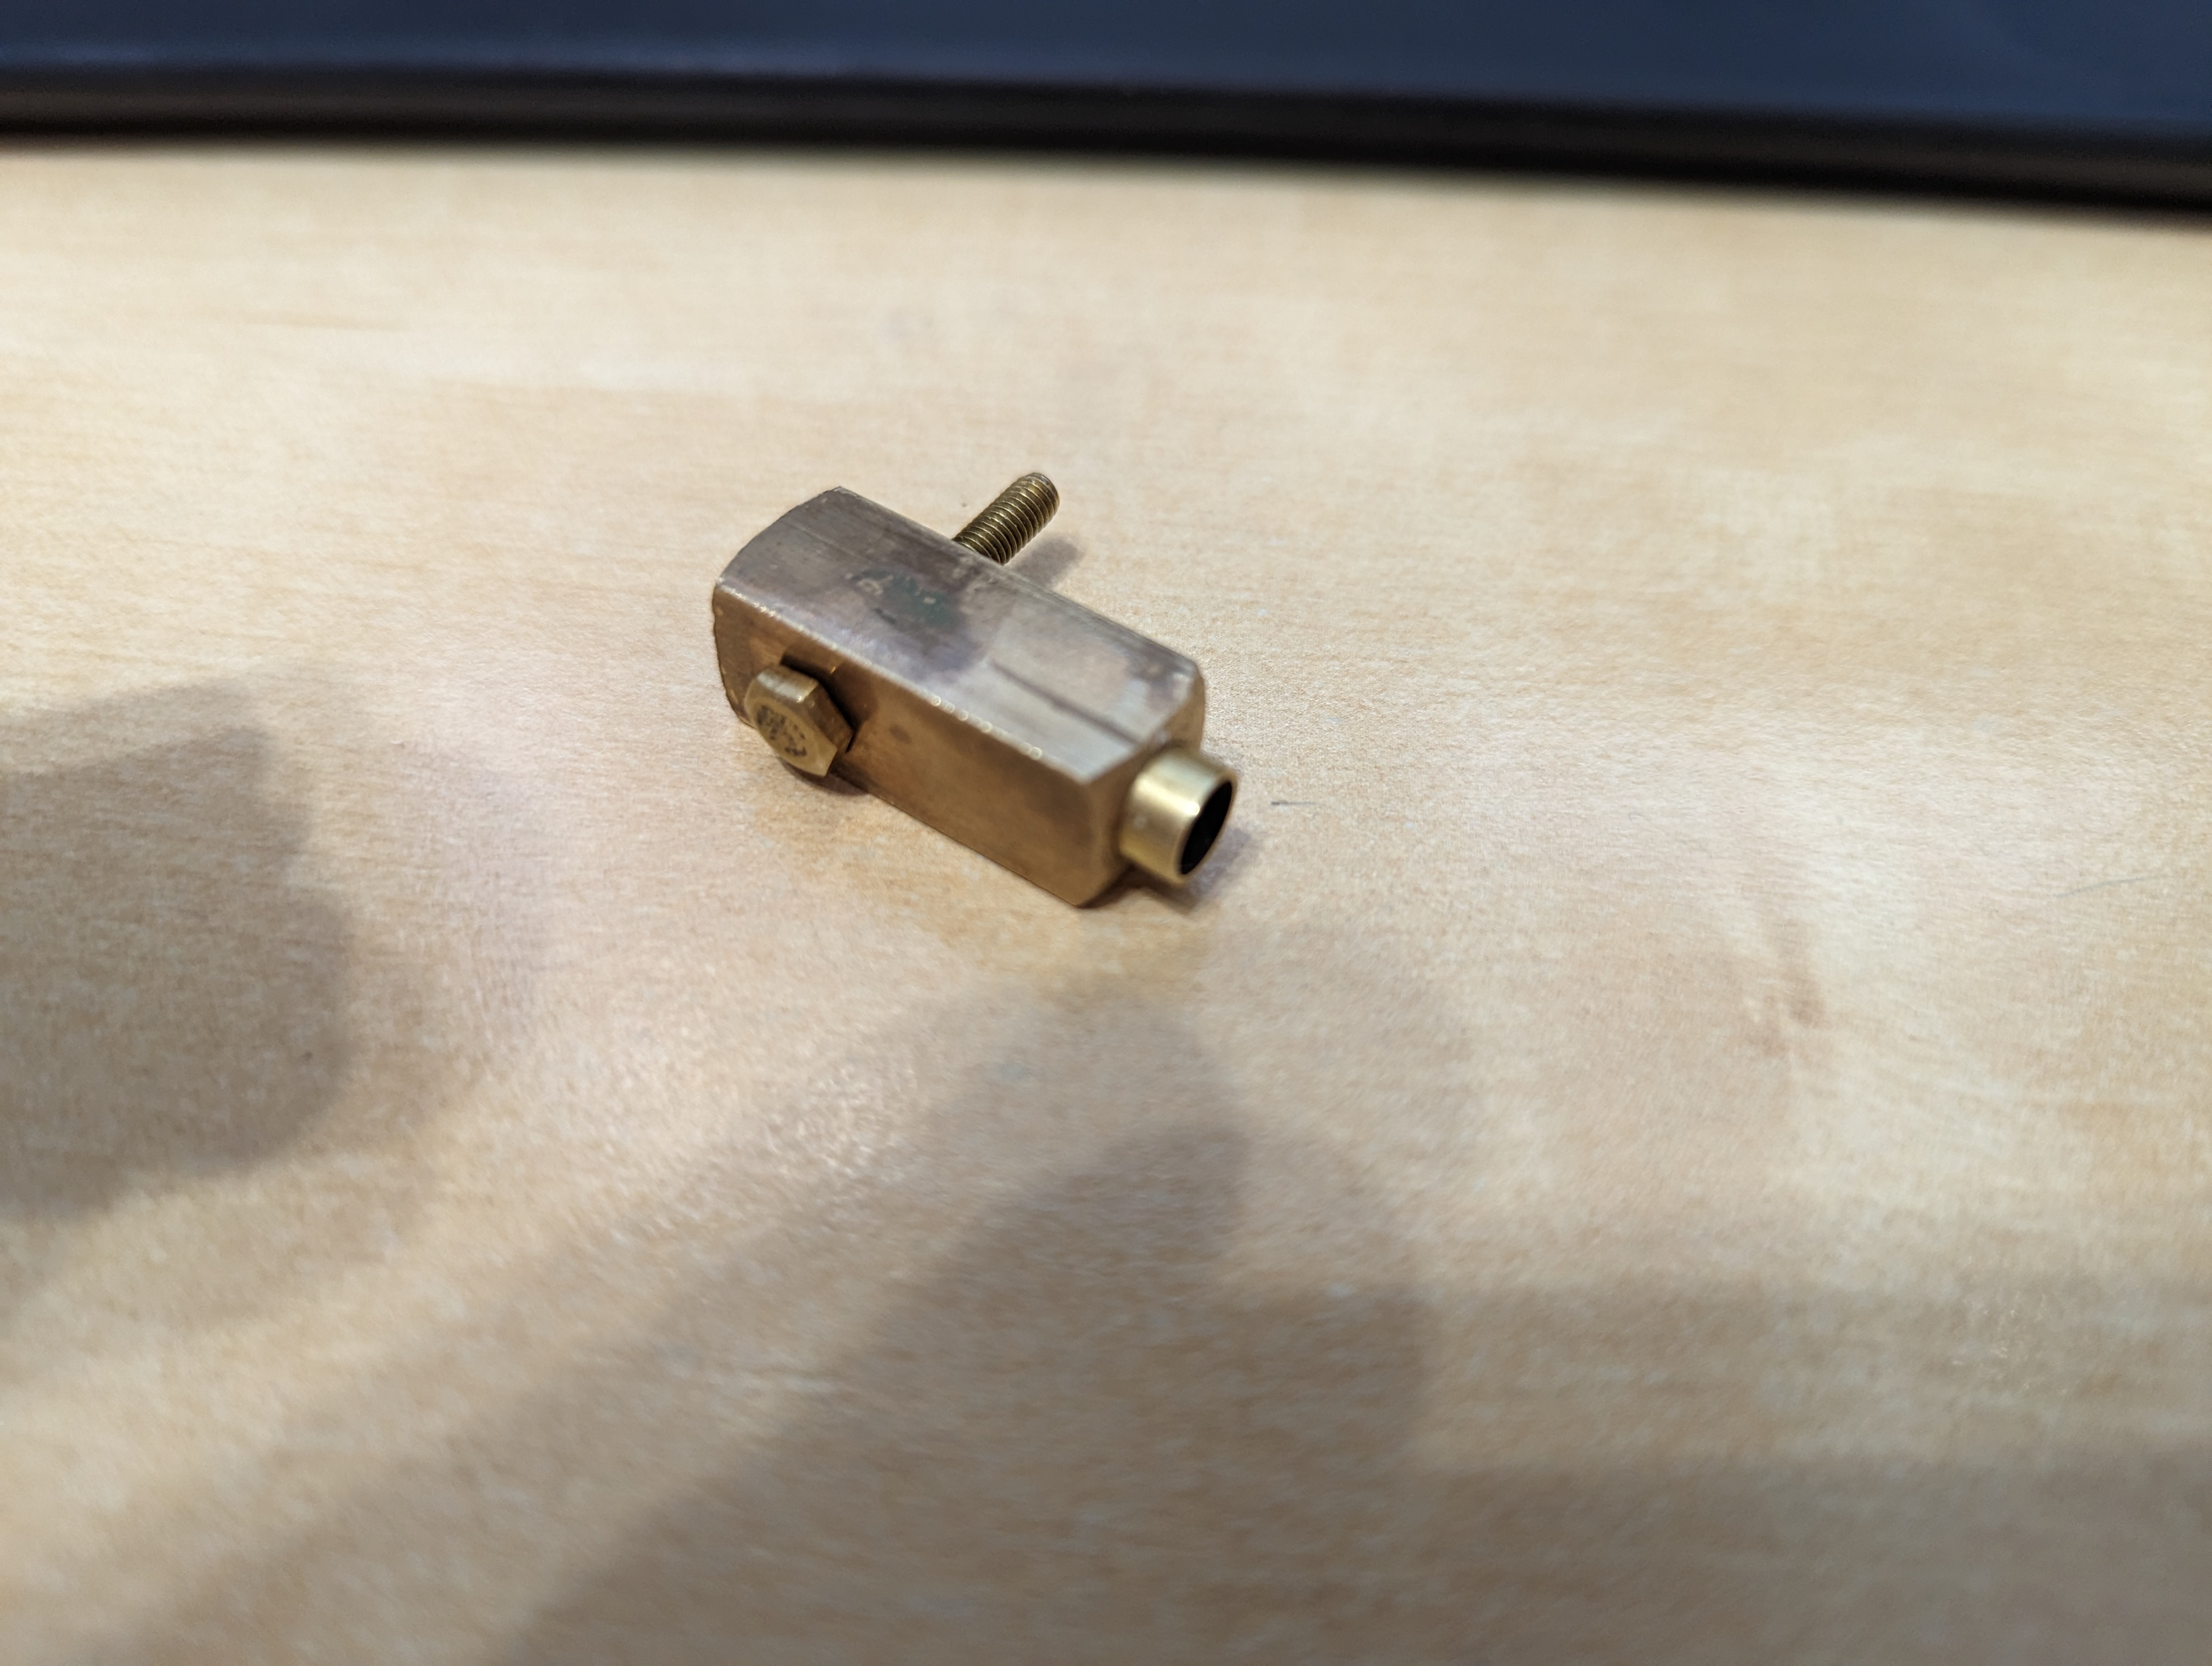
For some of the brass fittings on the pack, I boughts some hexagonal and square brass bars that I could cut and drill using 3D printed jigs, then work with files to create reasonable facsimiles of some of the original parts. I was pretty happy with the results!
For aluminium parts, where possible I tried to find matching knobs on Aliexpress that I could adapt. For the top knob of the wand, as it was going to be used for control and needed to grip onto a rotary encoder, I drilled a small hole into the side of a thumb nut, and cut a thread in so I could use a grub screw to secure it onto the flat edge of the rotary shaft. A fake screw head glued into the original nut hole then closed out the illusion.
Finally, every pack needs warning labels and decoration. There are many sources of these, but I loved the labels and dry rub transfer decals from EctoLabs. They also do a lot of other great GB kit that’s worth checking out if you don’t want to build all your own.
The Motherboard
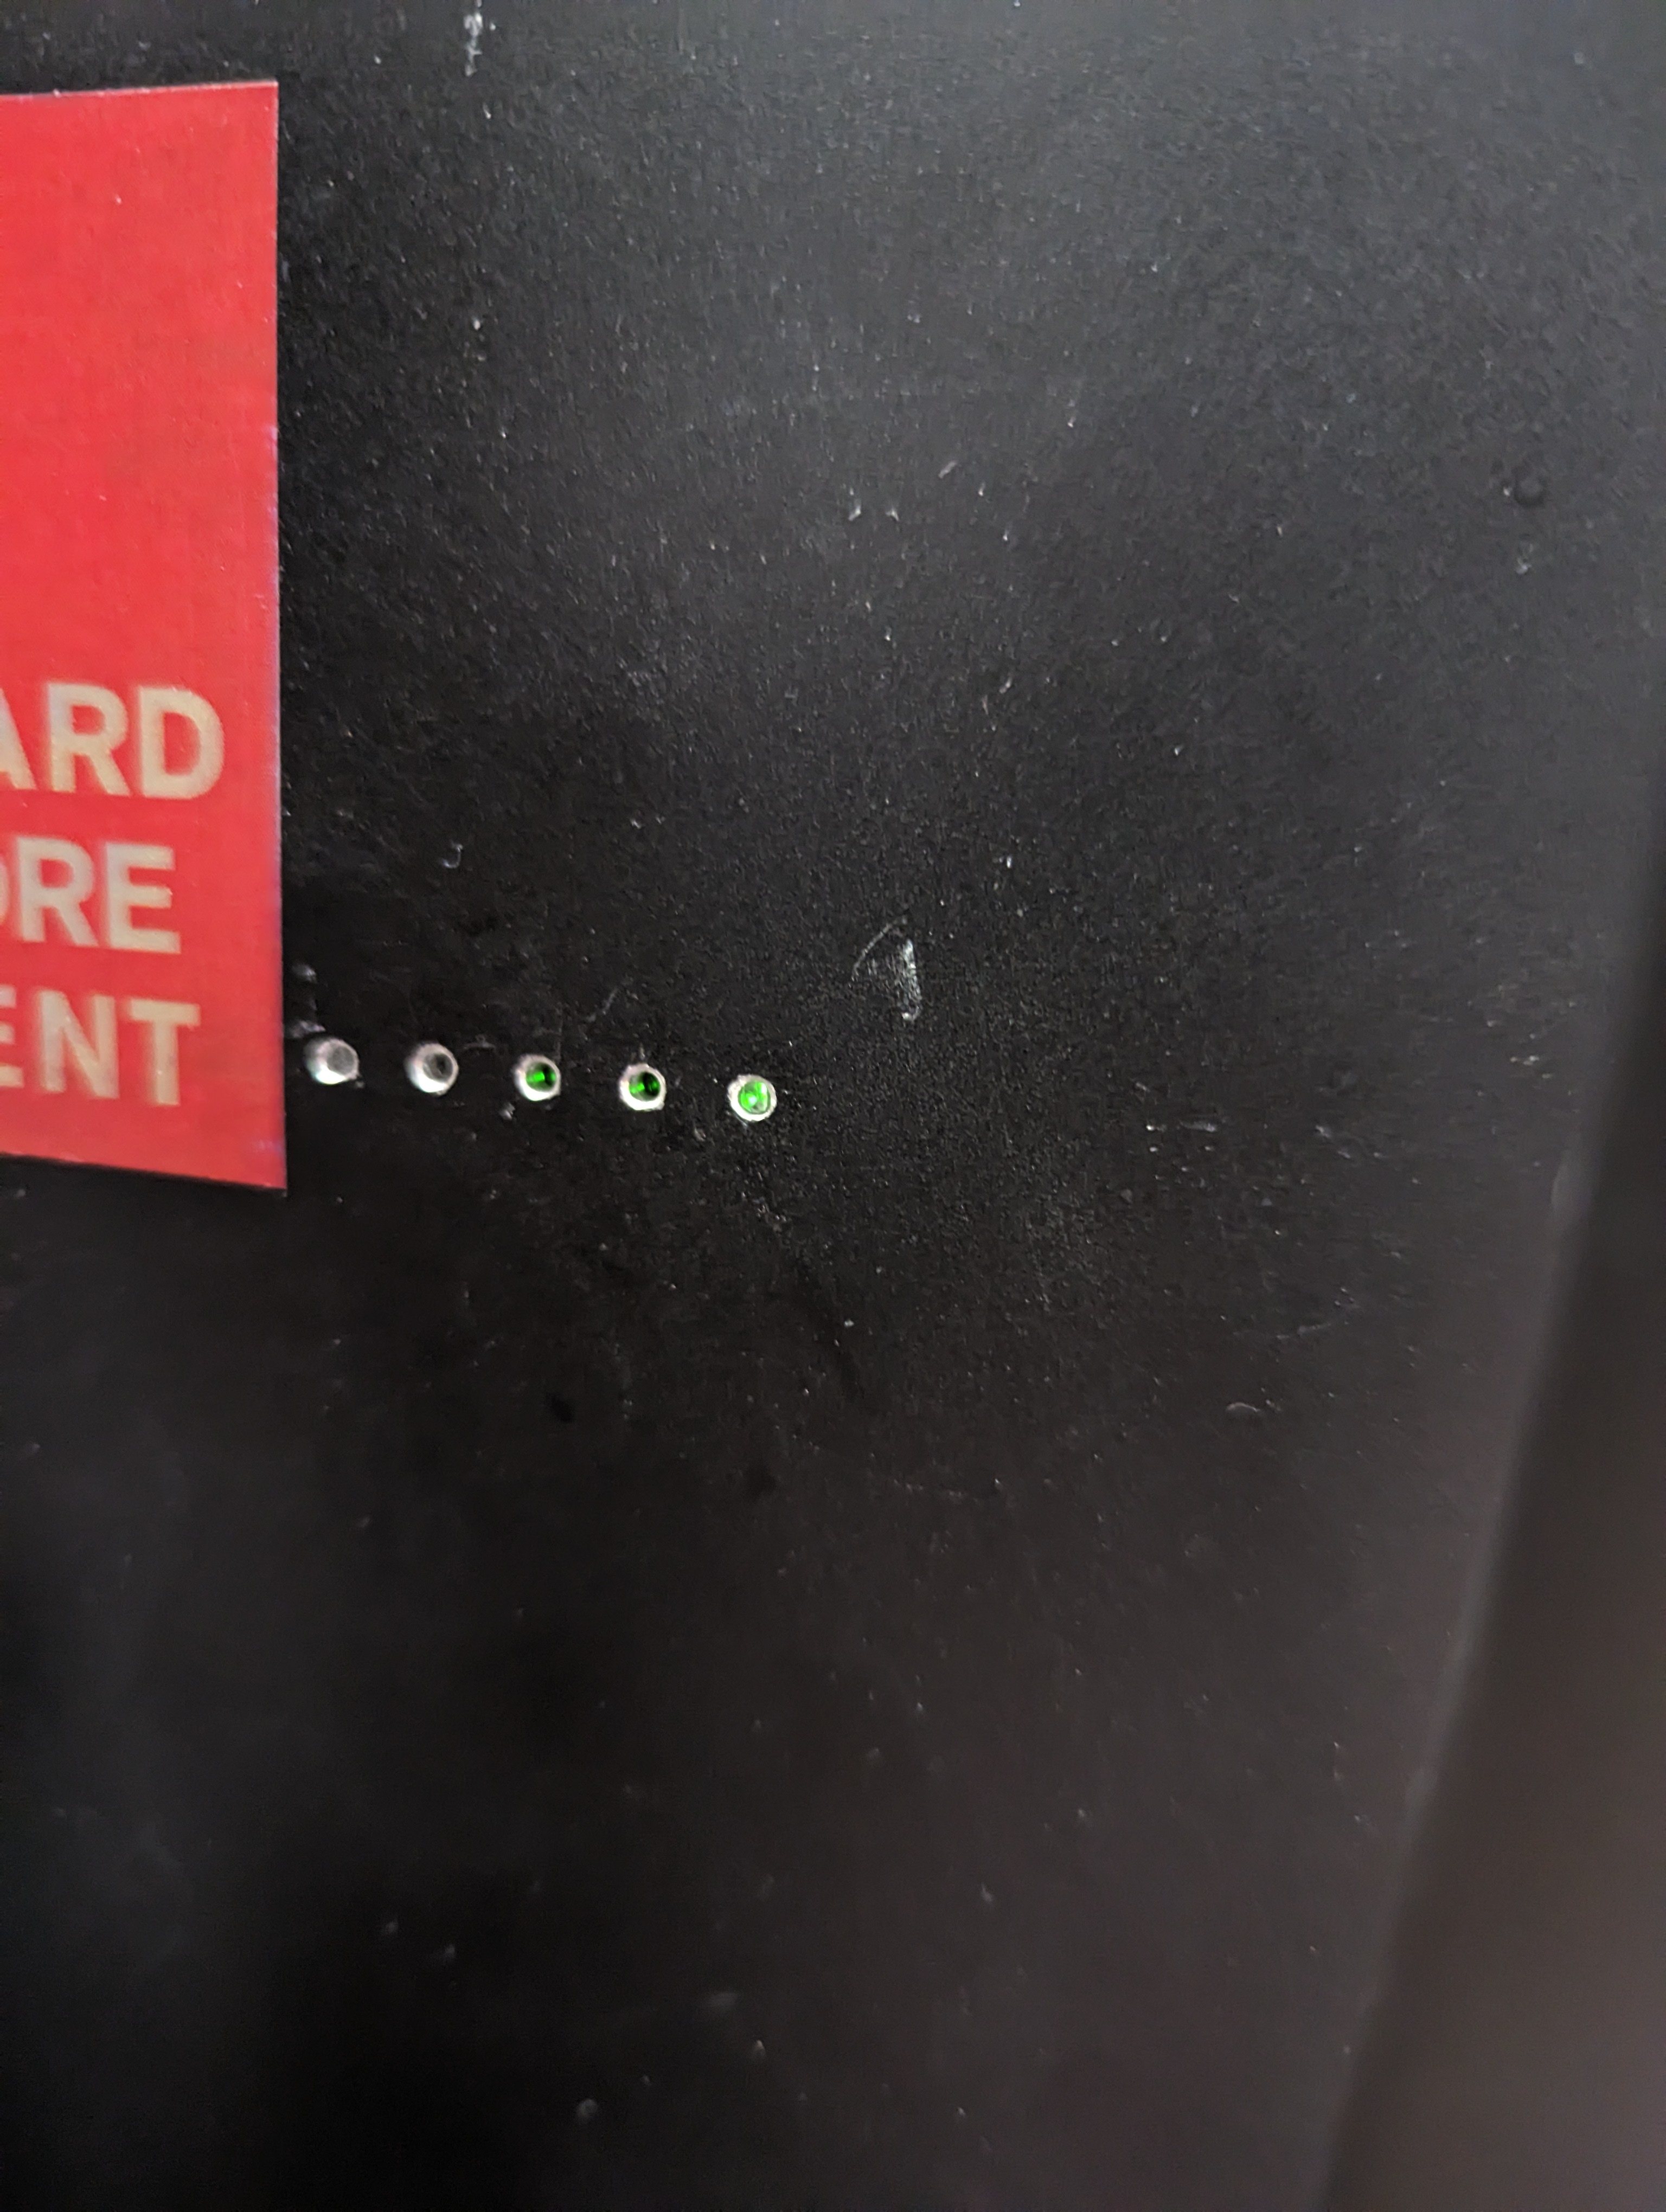
The motherboard is the name for the big plate that the pack attaches to, which in turn attaches to the Alice frames for wearing (which I sourced from from GoArmy). I got my motherboards made up by LaserMaster in 3mm aluminium - weighty, but it meant I could bolt a lot of stuff to them and they weren’t going anywhere. This worked out especially well for electronics fitting in the end, as I could mount everything to the motherboard, then just drop the shell on top and attach it with some angled aluminium brackets I’d fabricated. I made a set of adjustable 3D printed holders for circuit boards, batteries, LEDs, and reflectors for the cyclotron to attach to. The battery mount let me position the charge lights of the Talentcell battery I was using to face the rear of the motherboard, where some small drilled holes and optical fibre could transmit the charge to the back of the pack for reference.
Electronics
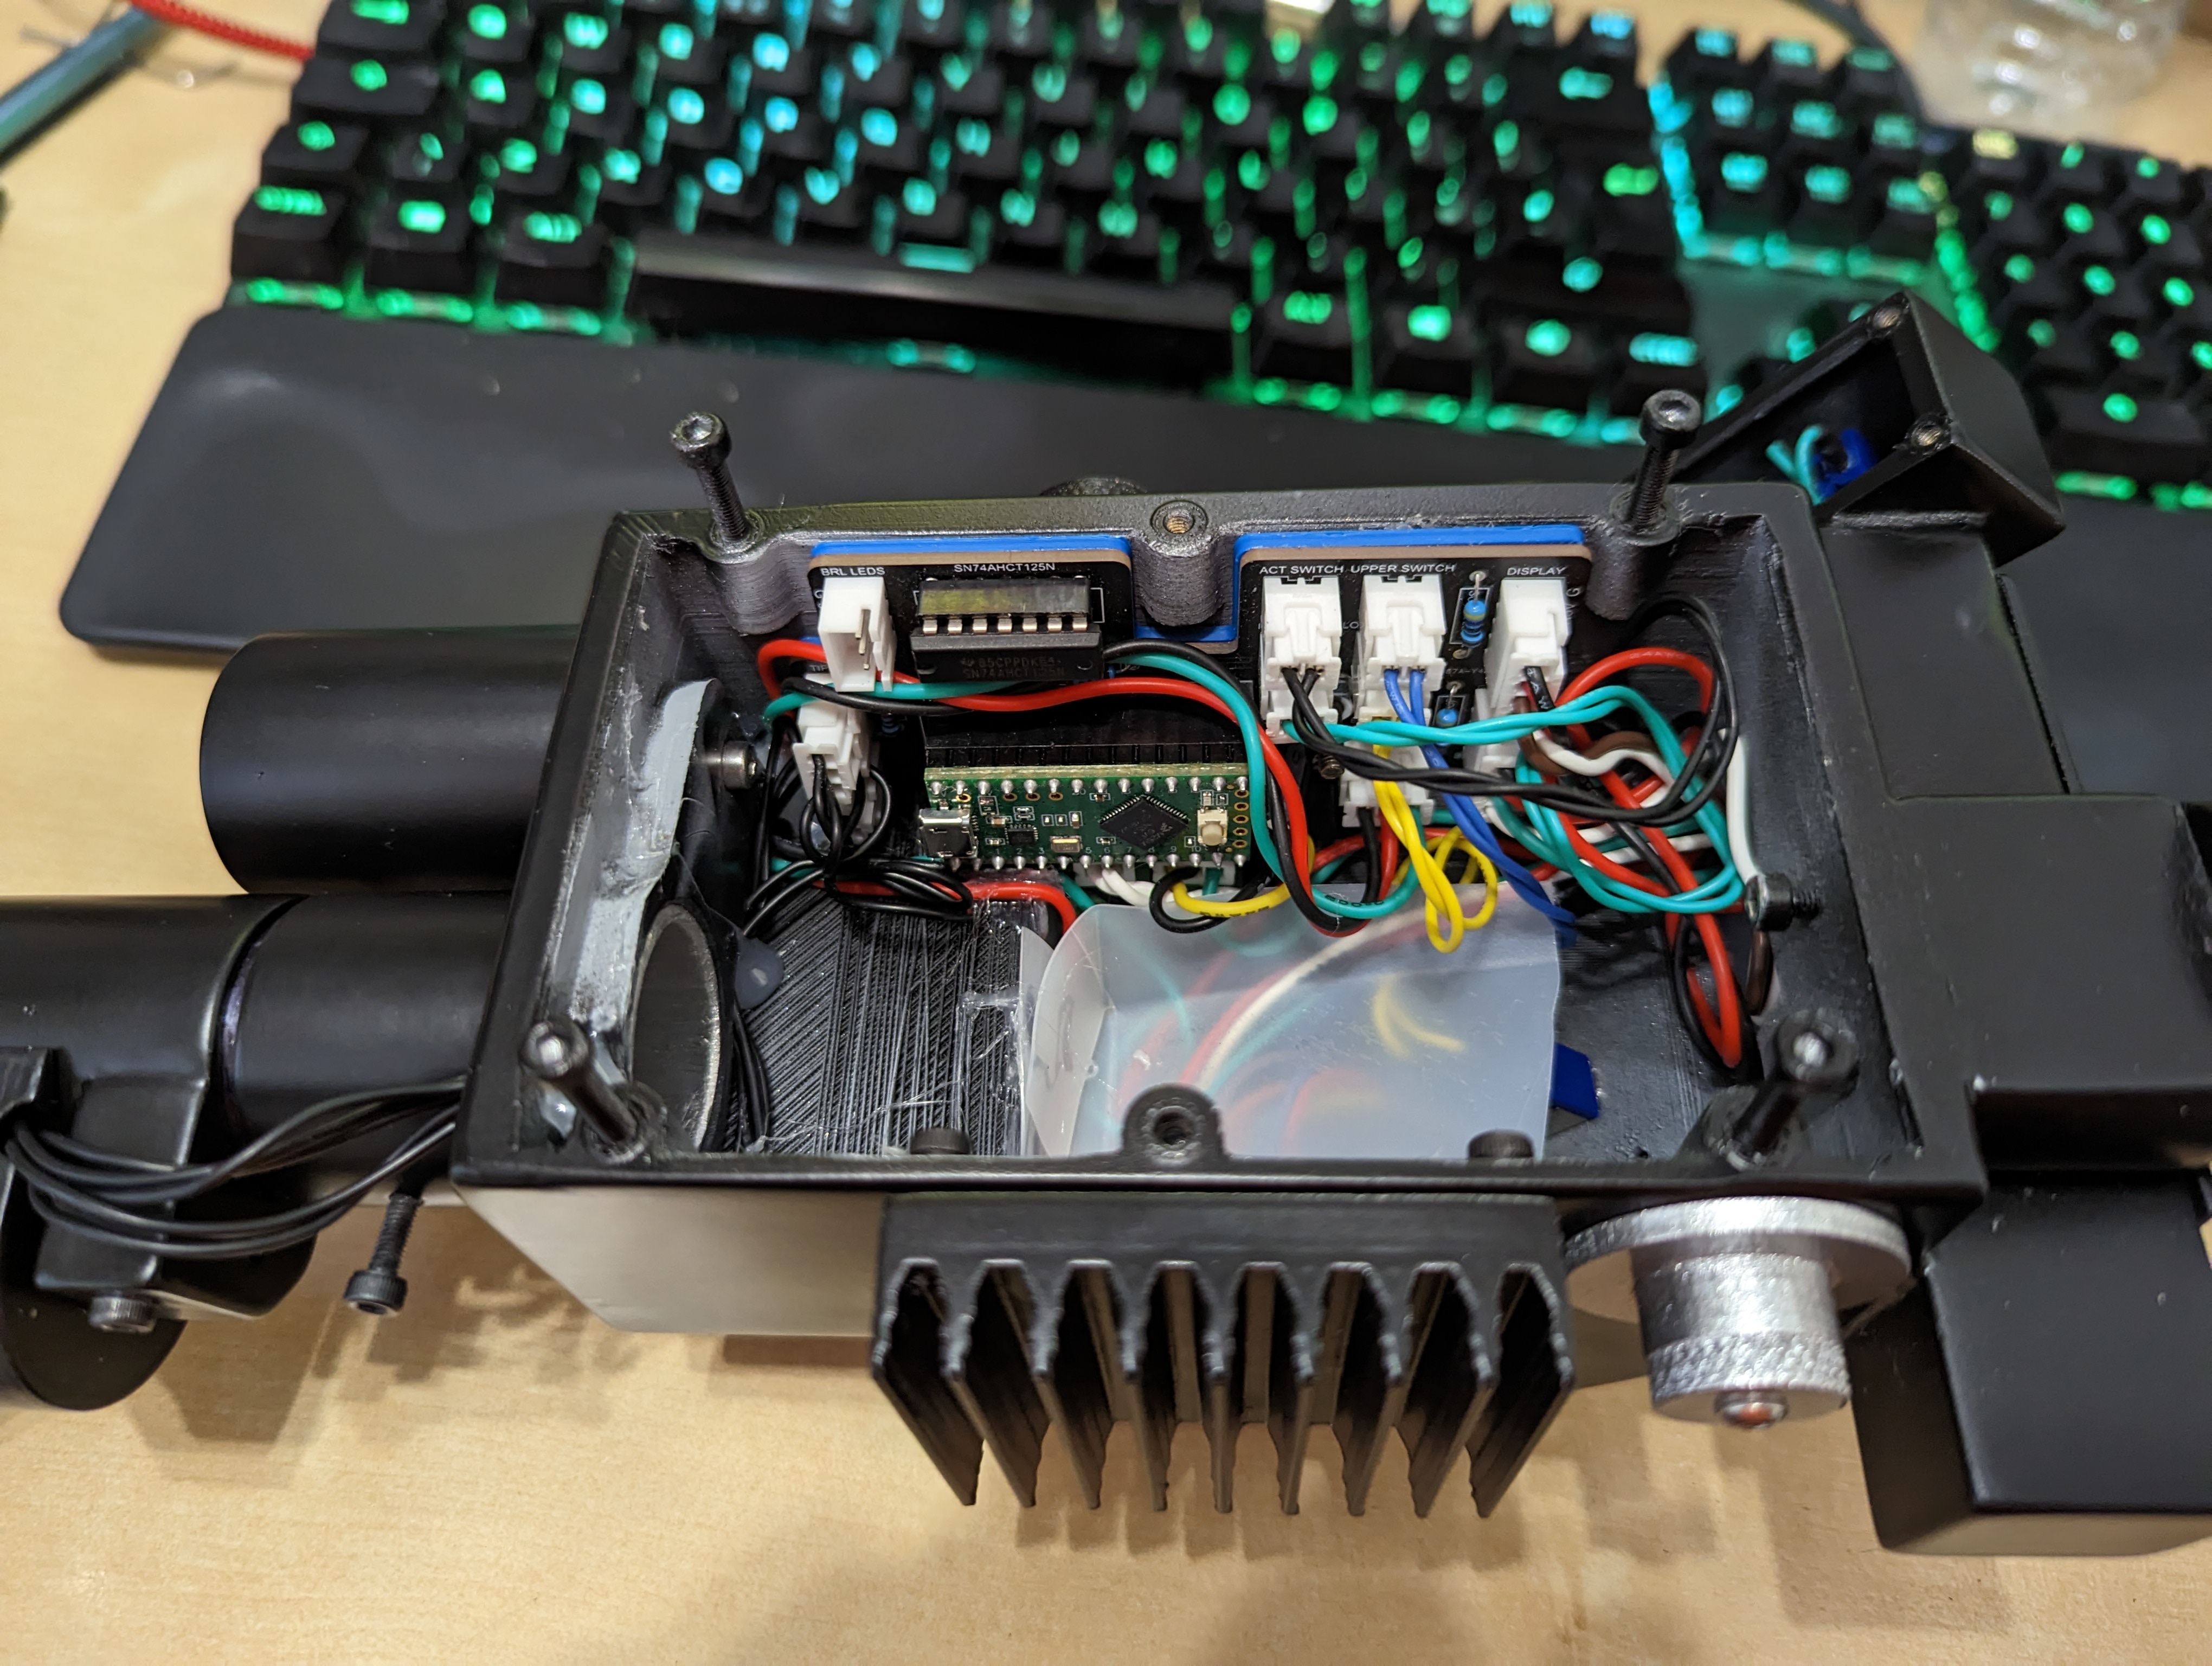
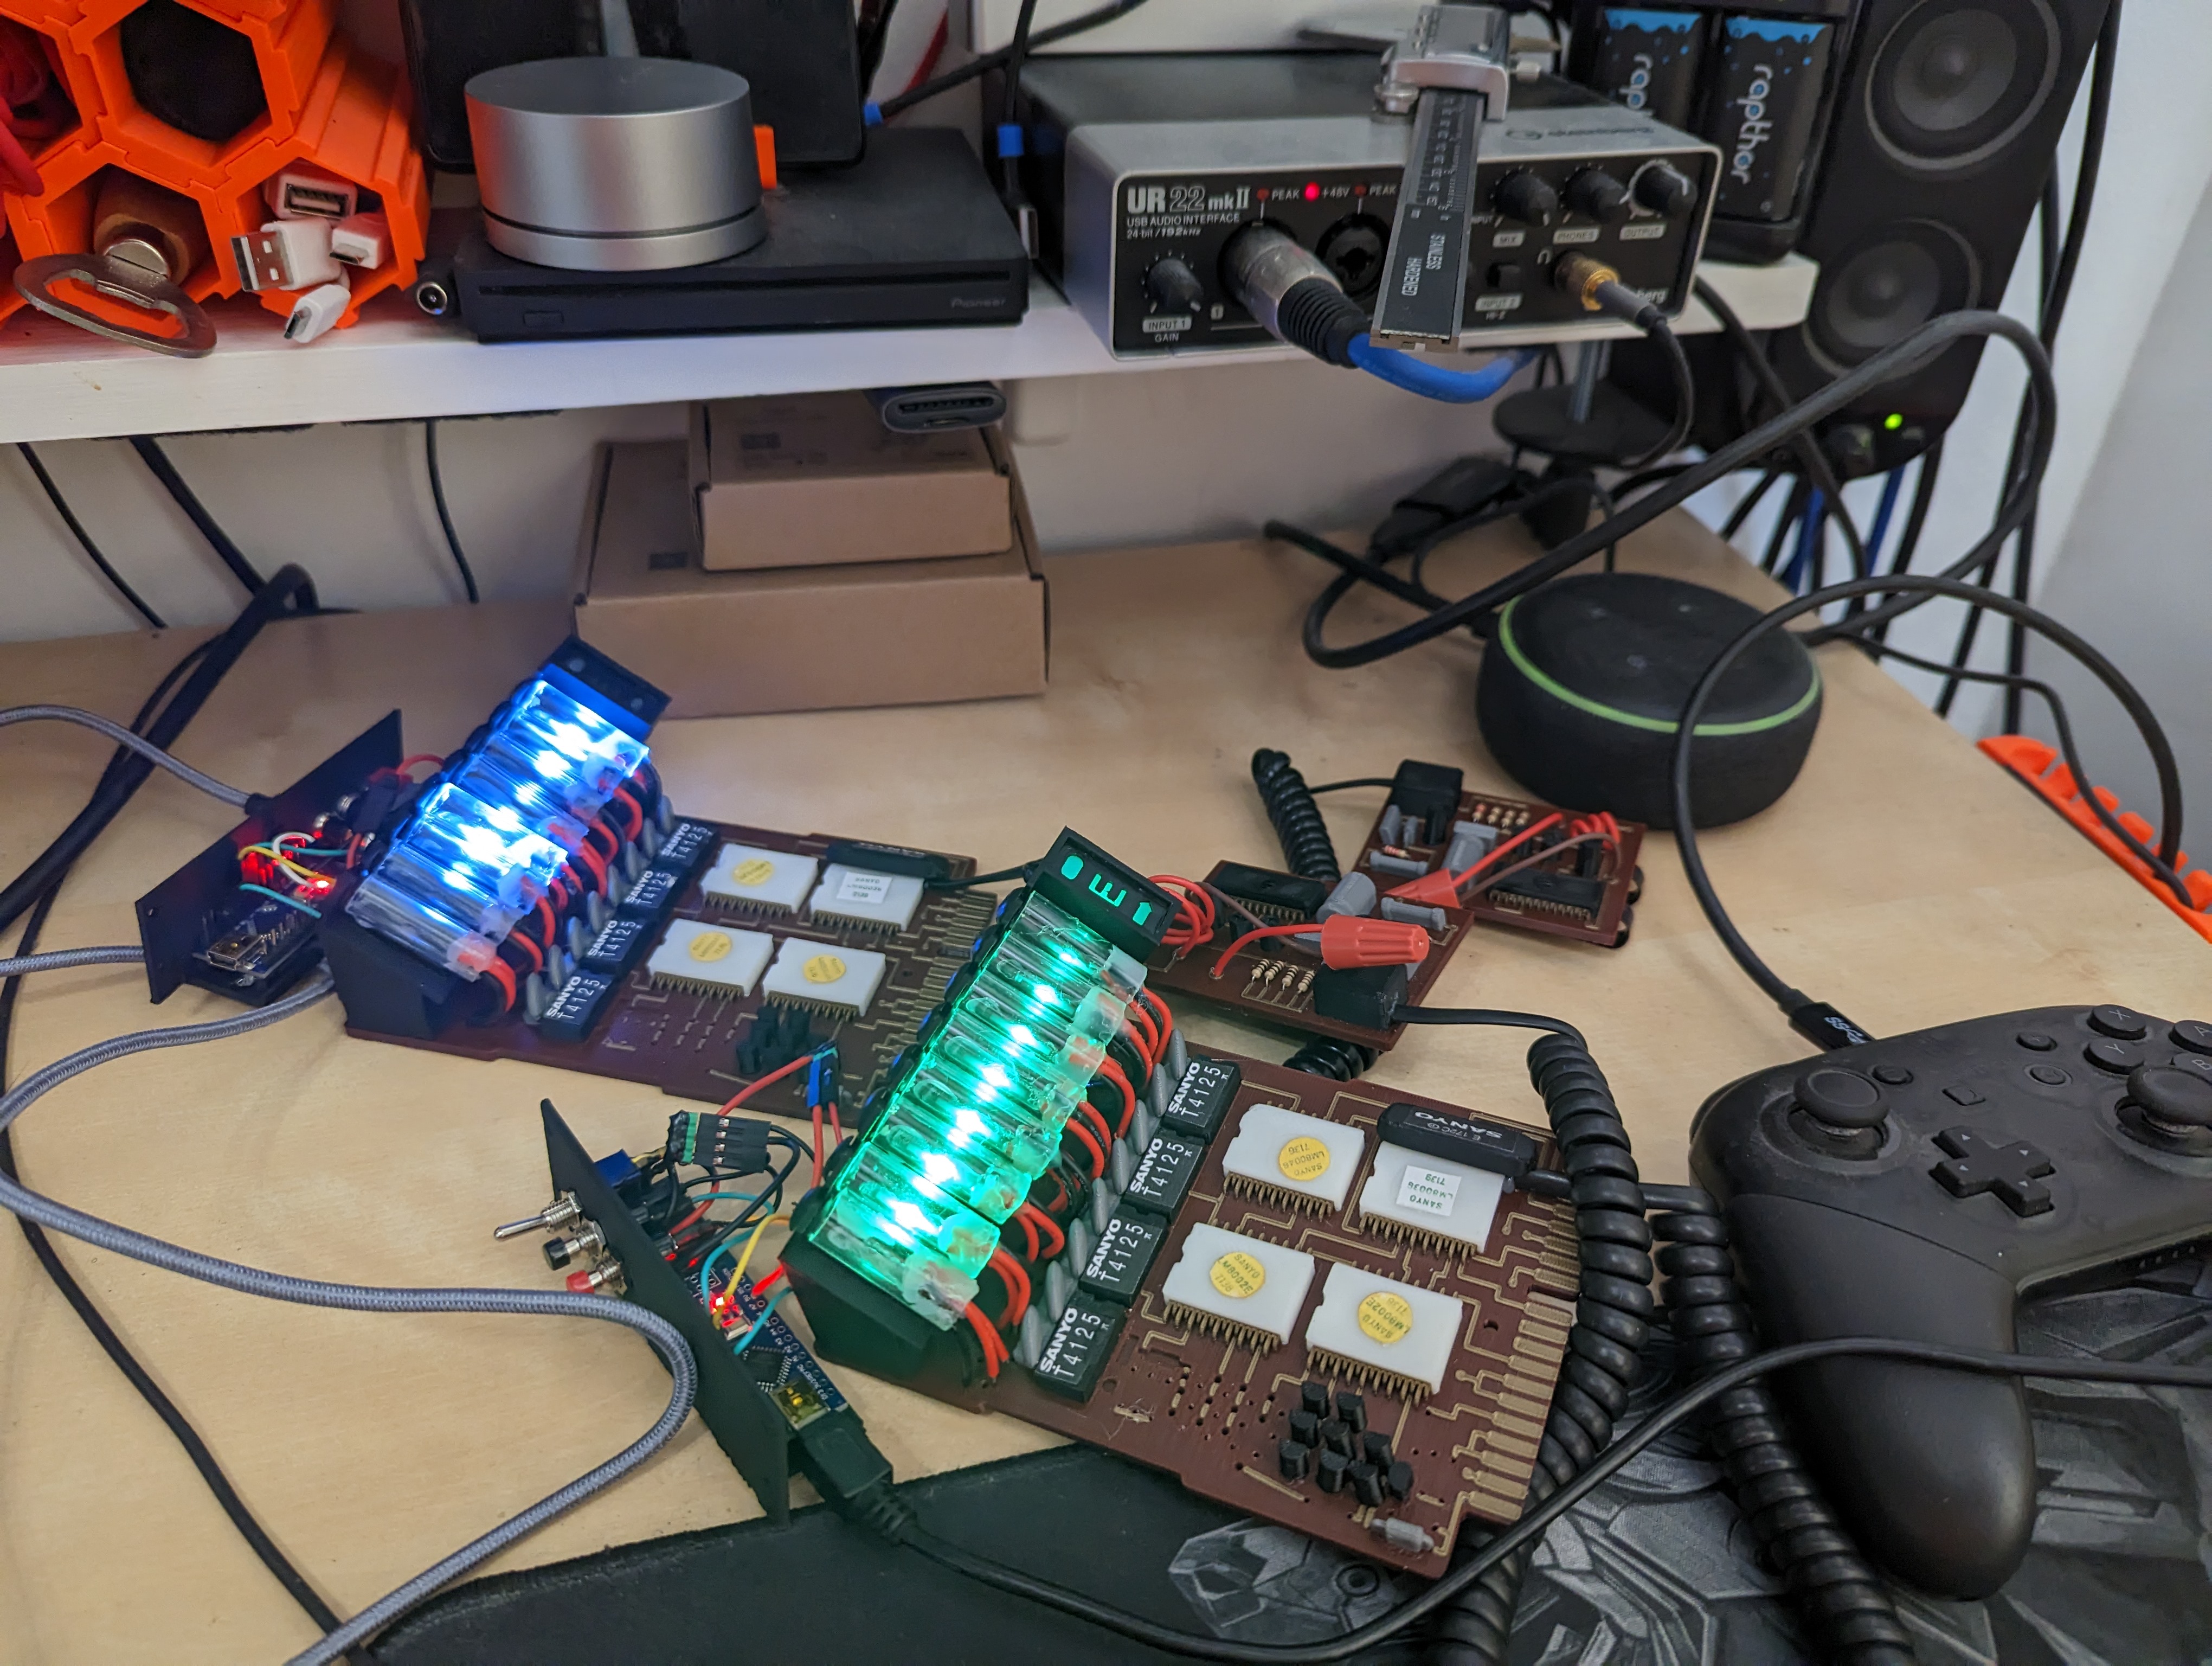
Doing the electronics for this pack was some of the most fun I’ve had. I put together a custom build using some Teensy microcontrollers. The build is better documented over on my Proton Pack electronics repo on GitHub. I do have a second version planned with some tweaks from using the pack - I plan to add smoke effects, barrel sensing, and bluetooth control to the pack in the future.
The Full Buster
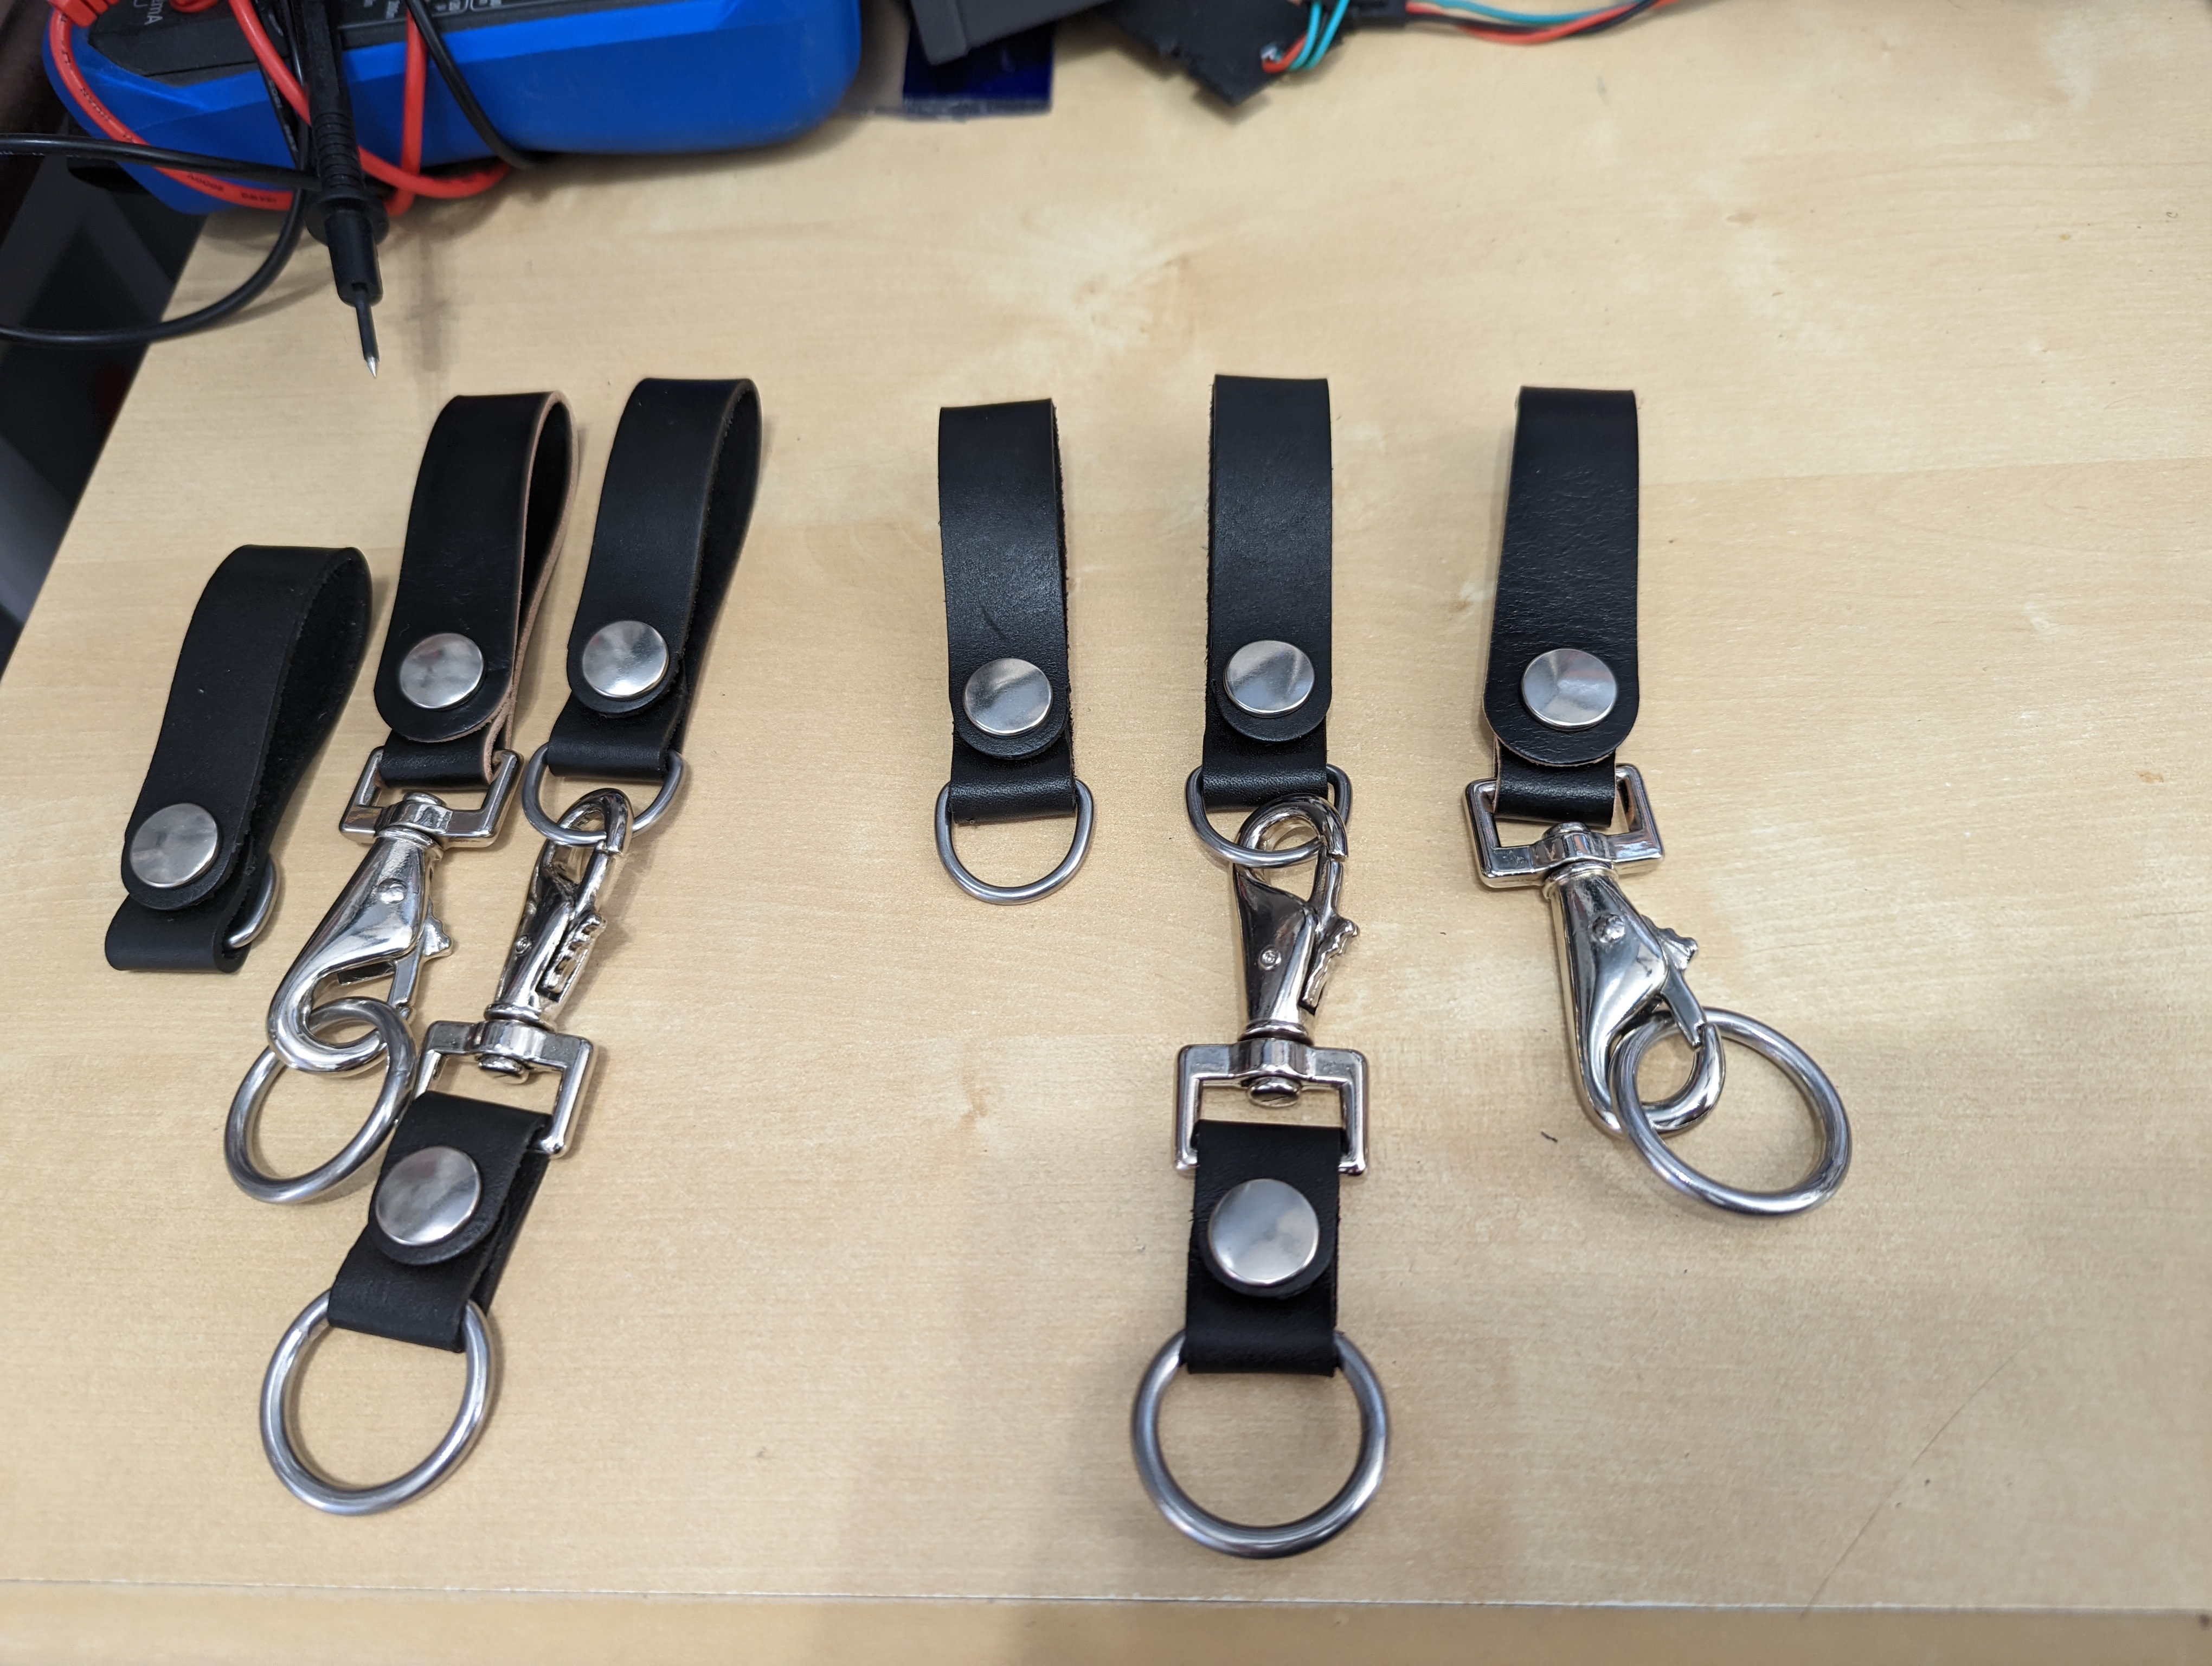
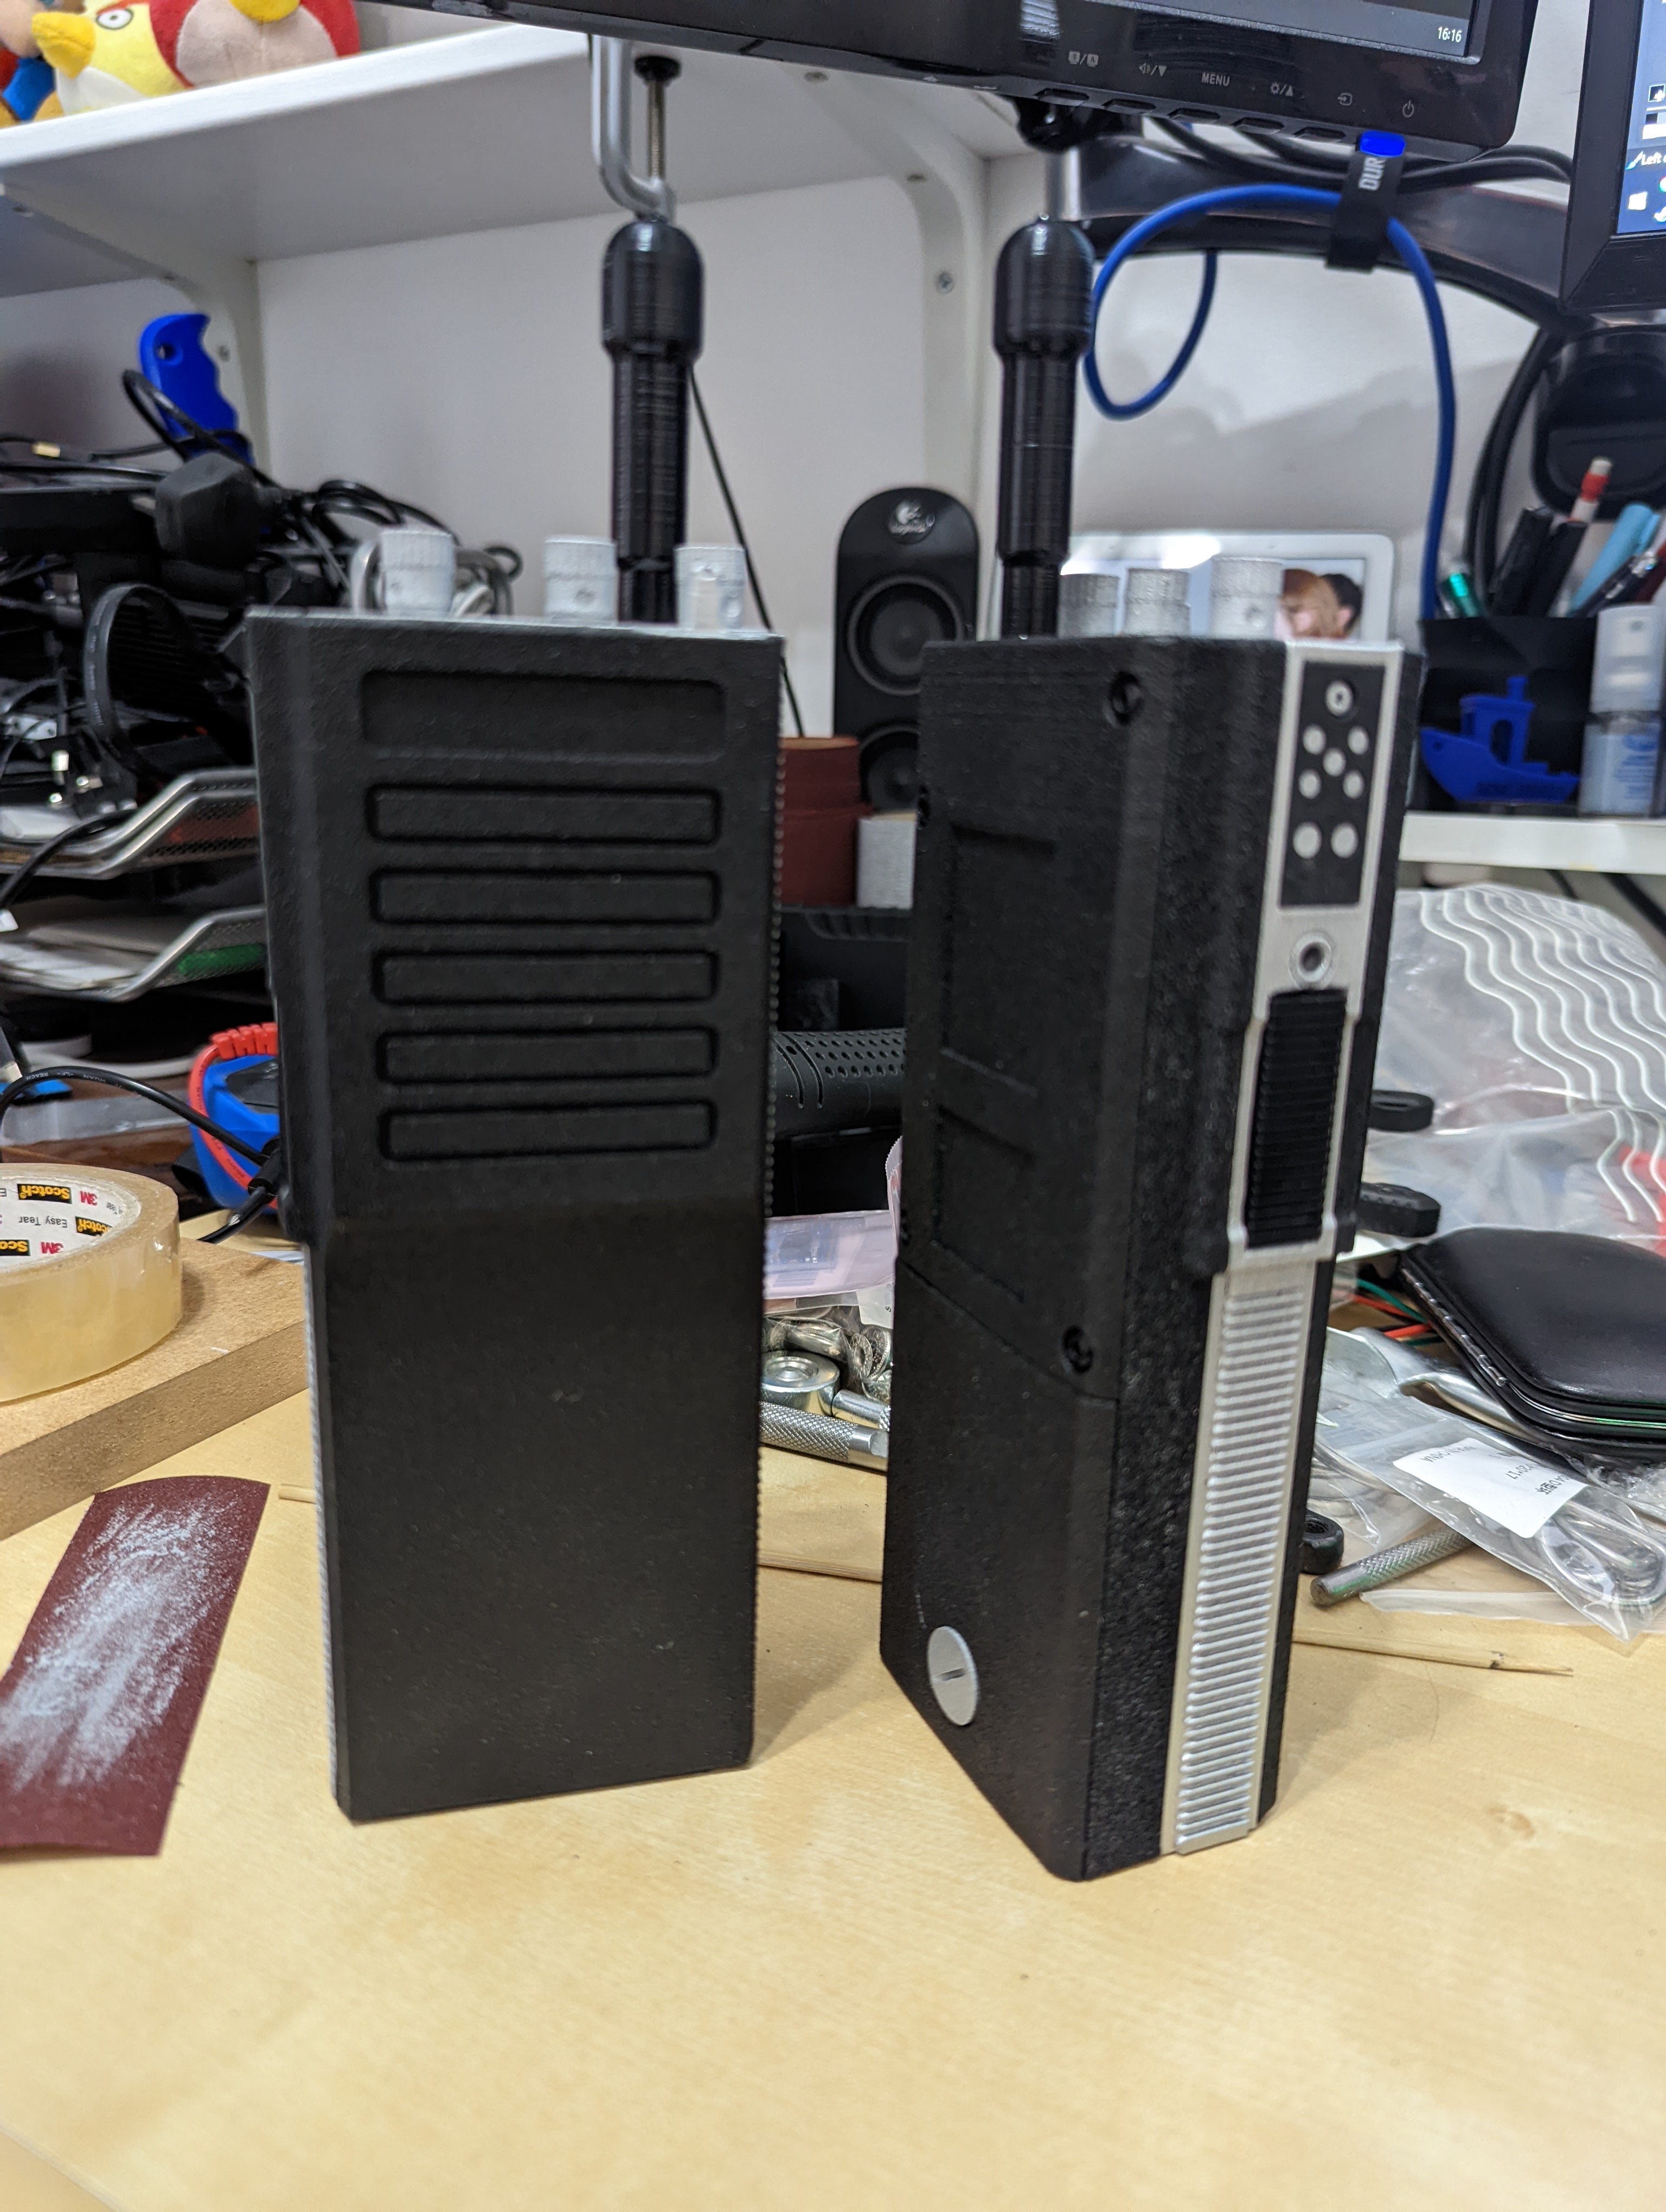
There are many other props for a complete Ghostbuster cosplay that I won’t go into in detail, but it’s great if you want to DIY and get a chance to put some more skills under your belt (like leatherworking …). 3D printing is also another great help here, and it’s worth checking out MSHDesignStudio on Etsy for some great files for the PKE and MT500 holster. Quentin also does some solid MT500 walkie files on his shop.
